
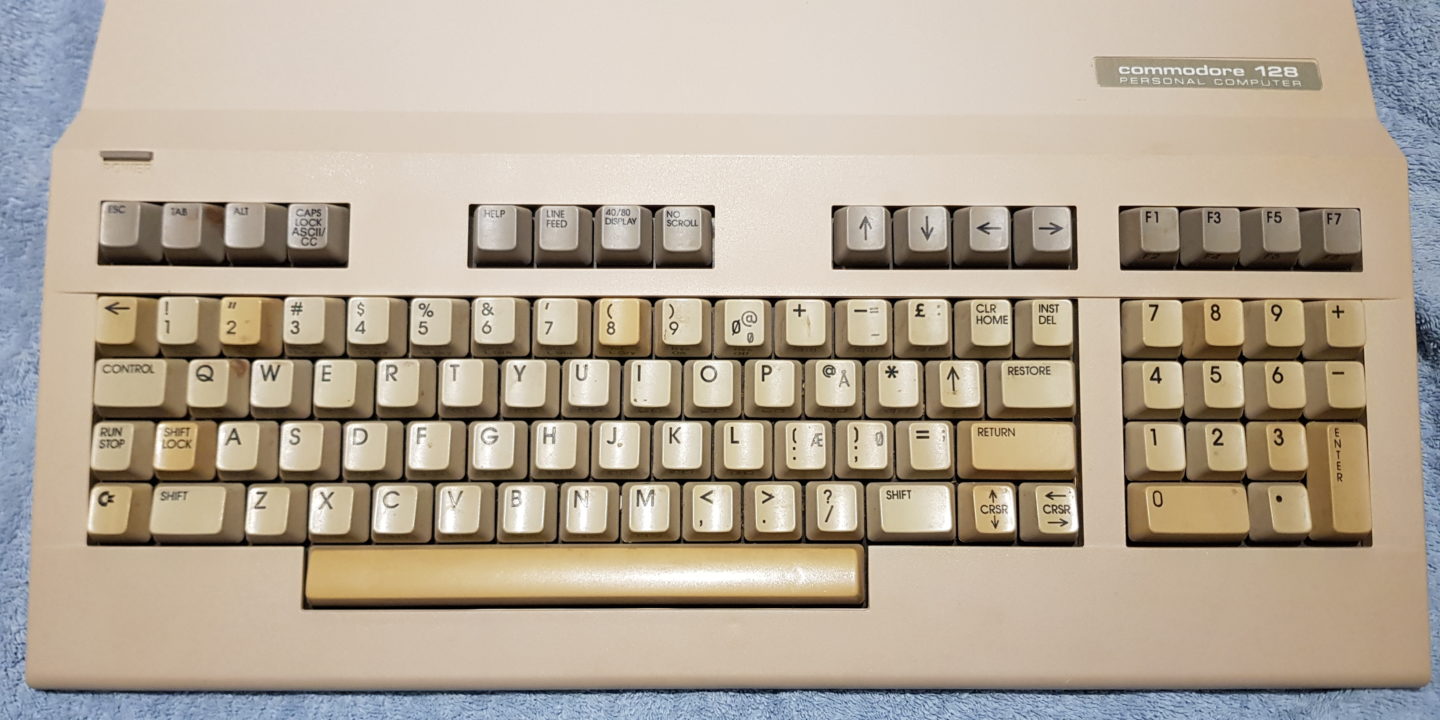
It was time to give some love to my C128. Originally this system belonged to our coder, Wiz of Danish Science. Probably around a few decades ago when he got busy with life, family, kids etc. he decided to bring all his stuff to my place, knowing that I would probably take good care of it.
I started to dump all his C64/Amiga disks to images around that time, and supplied it to him, so he could at least always emulate and see his old memories again if he needed to 🙂
His C128 was stored carefully since then, and it needed a serious cleaning and to be fixed here and there too – so finally in the year of 2020 I got around to do this 🙂
Wiz, it was really dirty 🙂 🙂
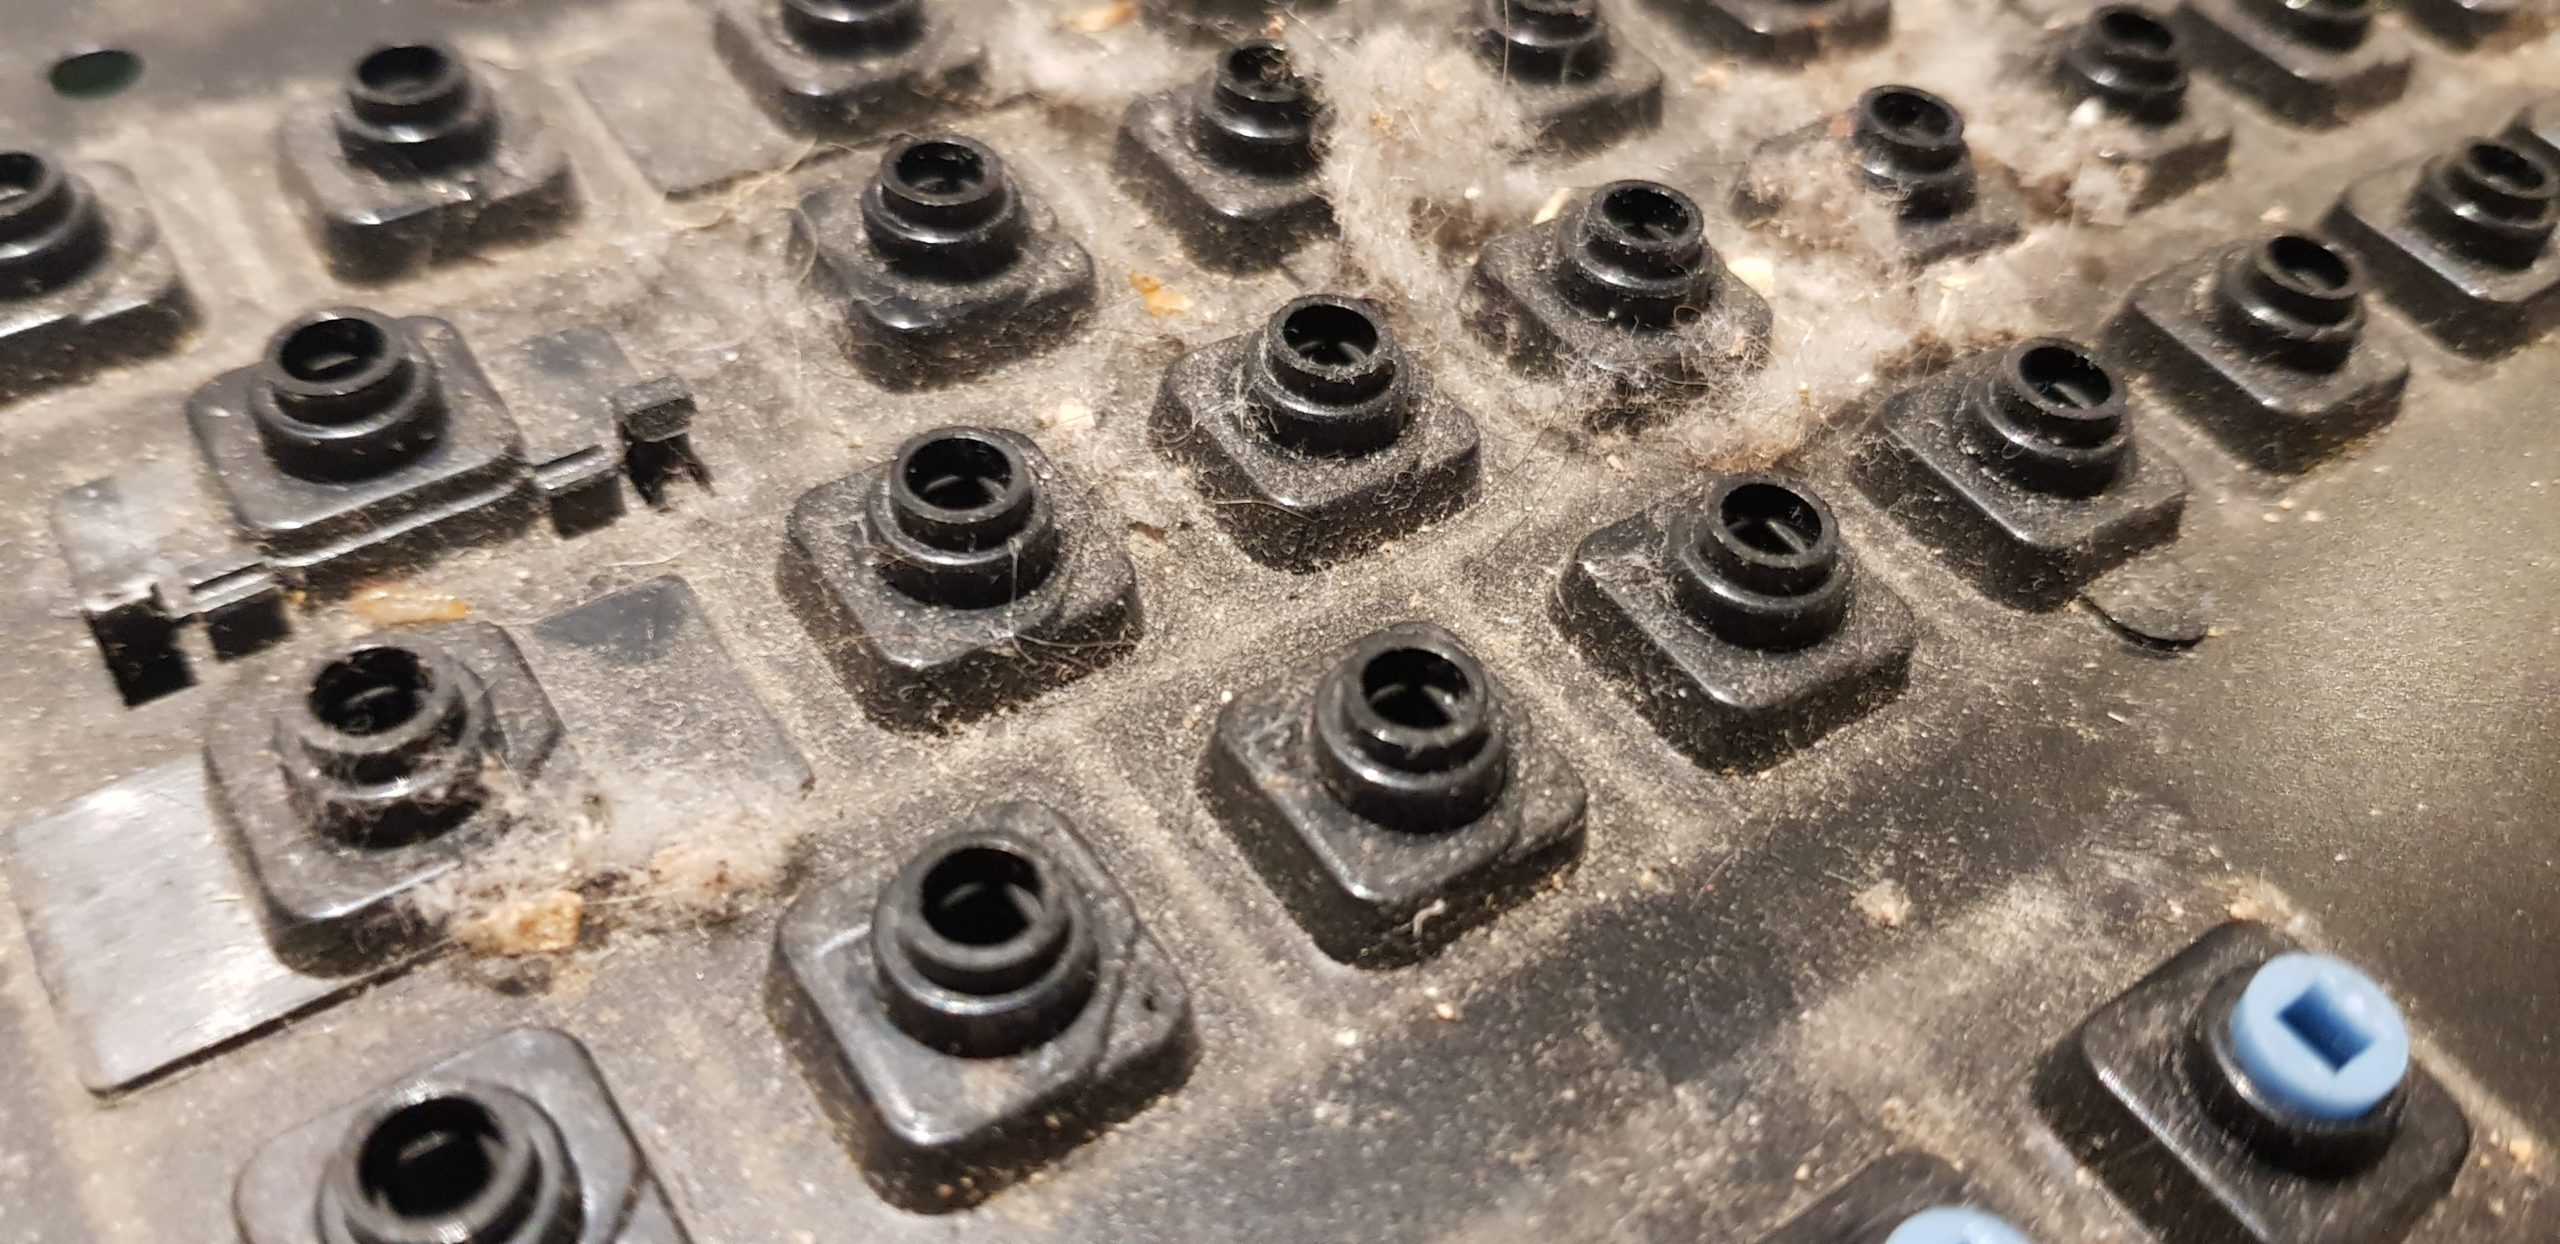
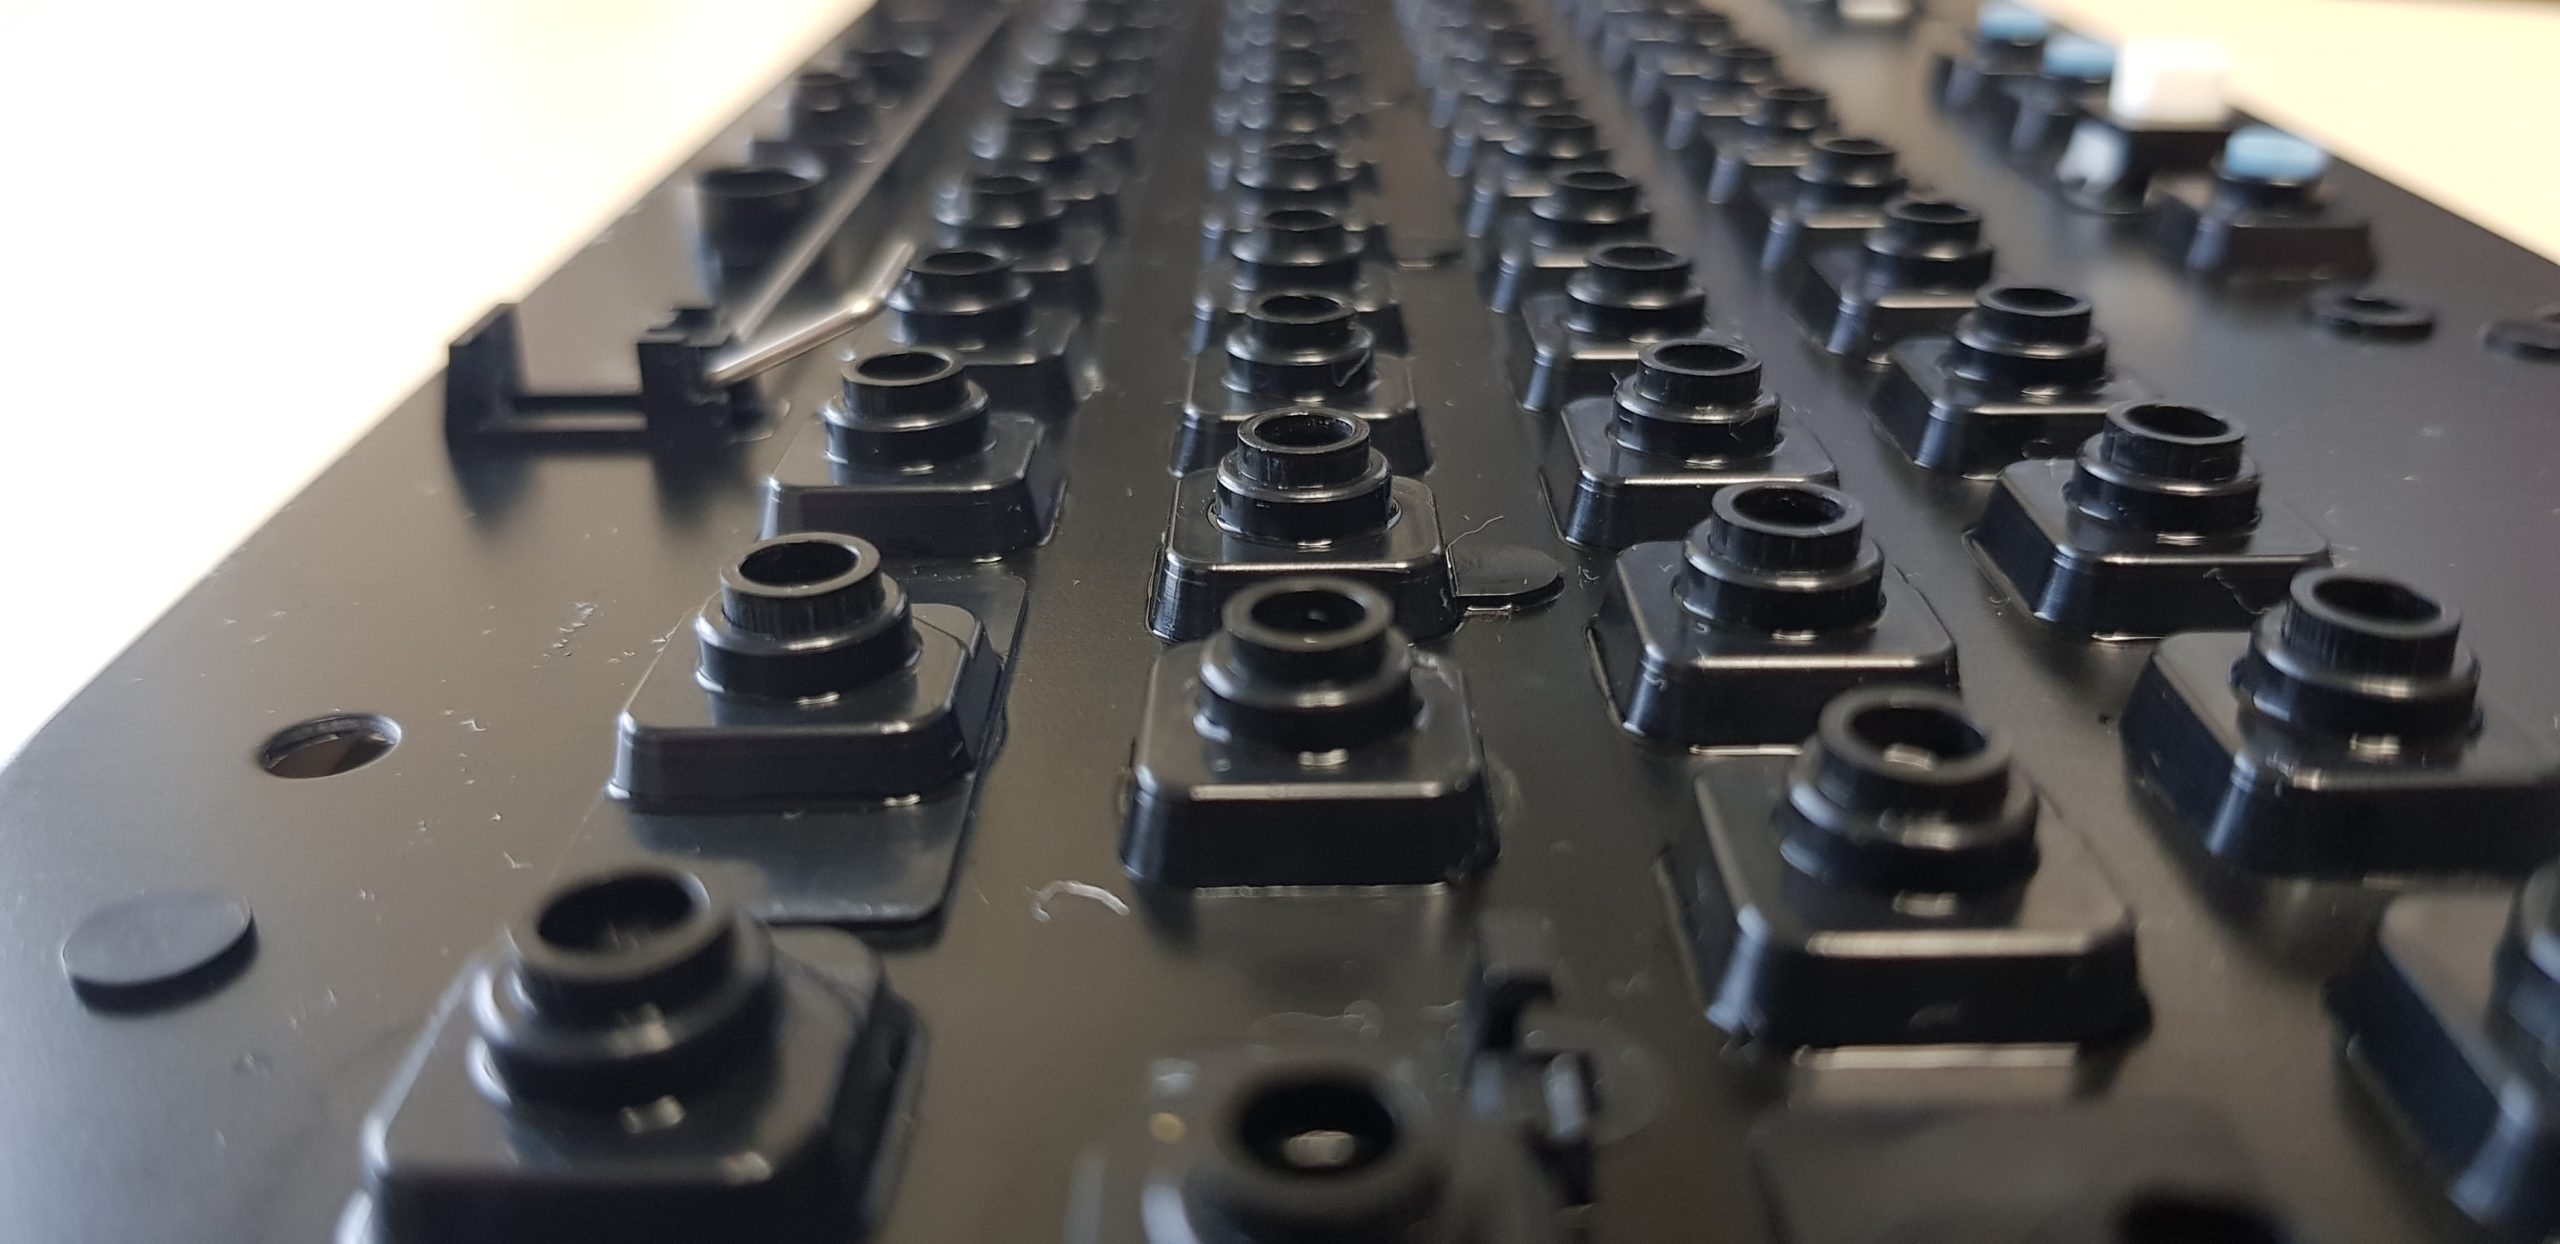
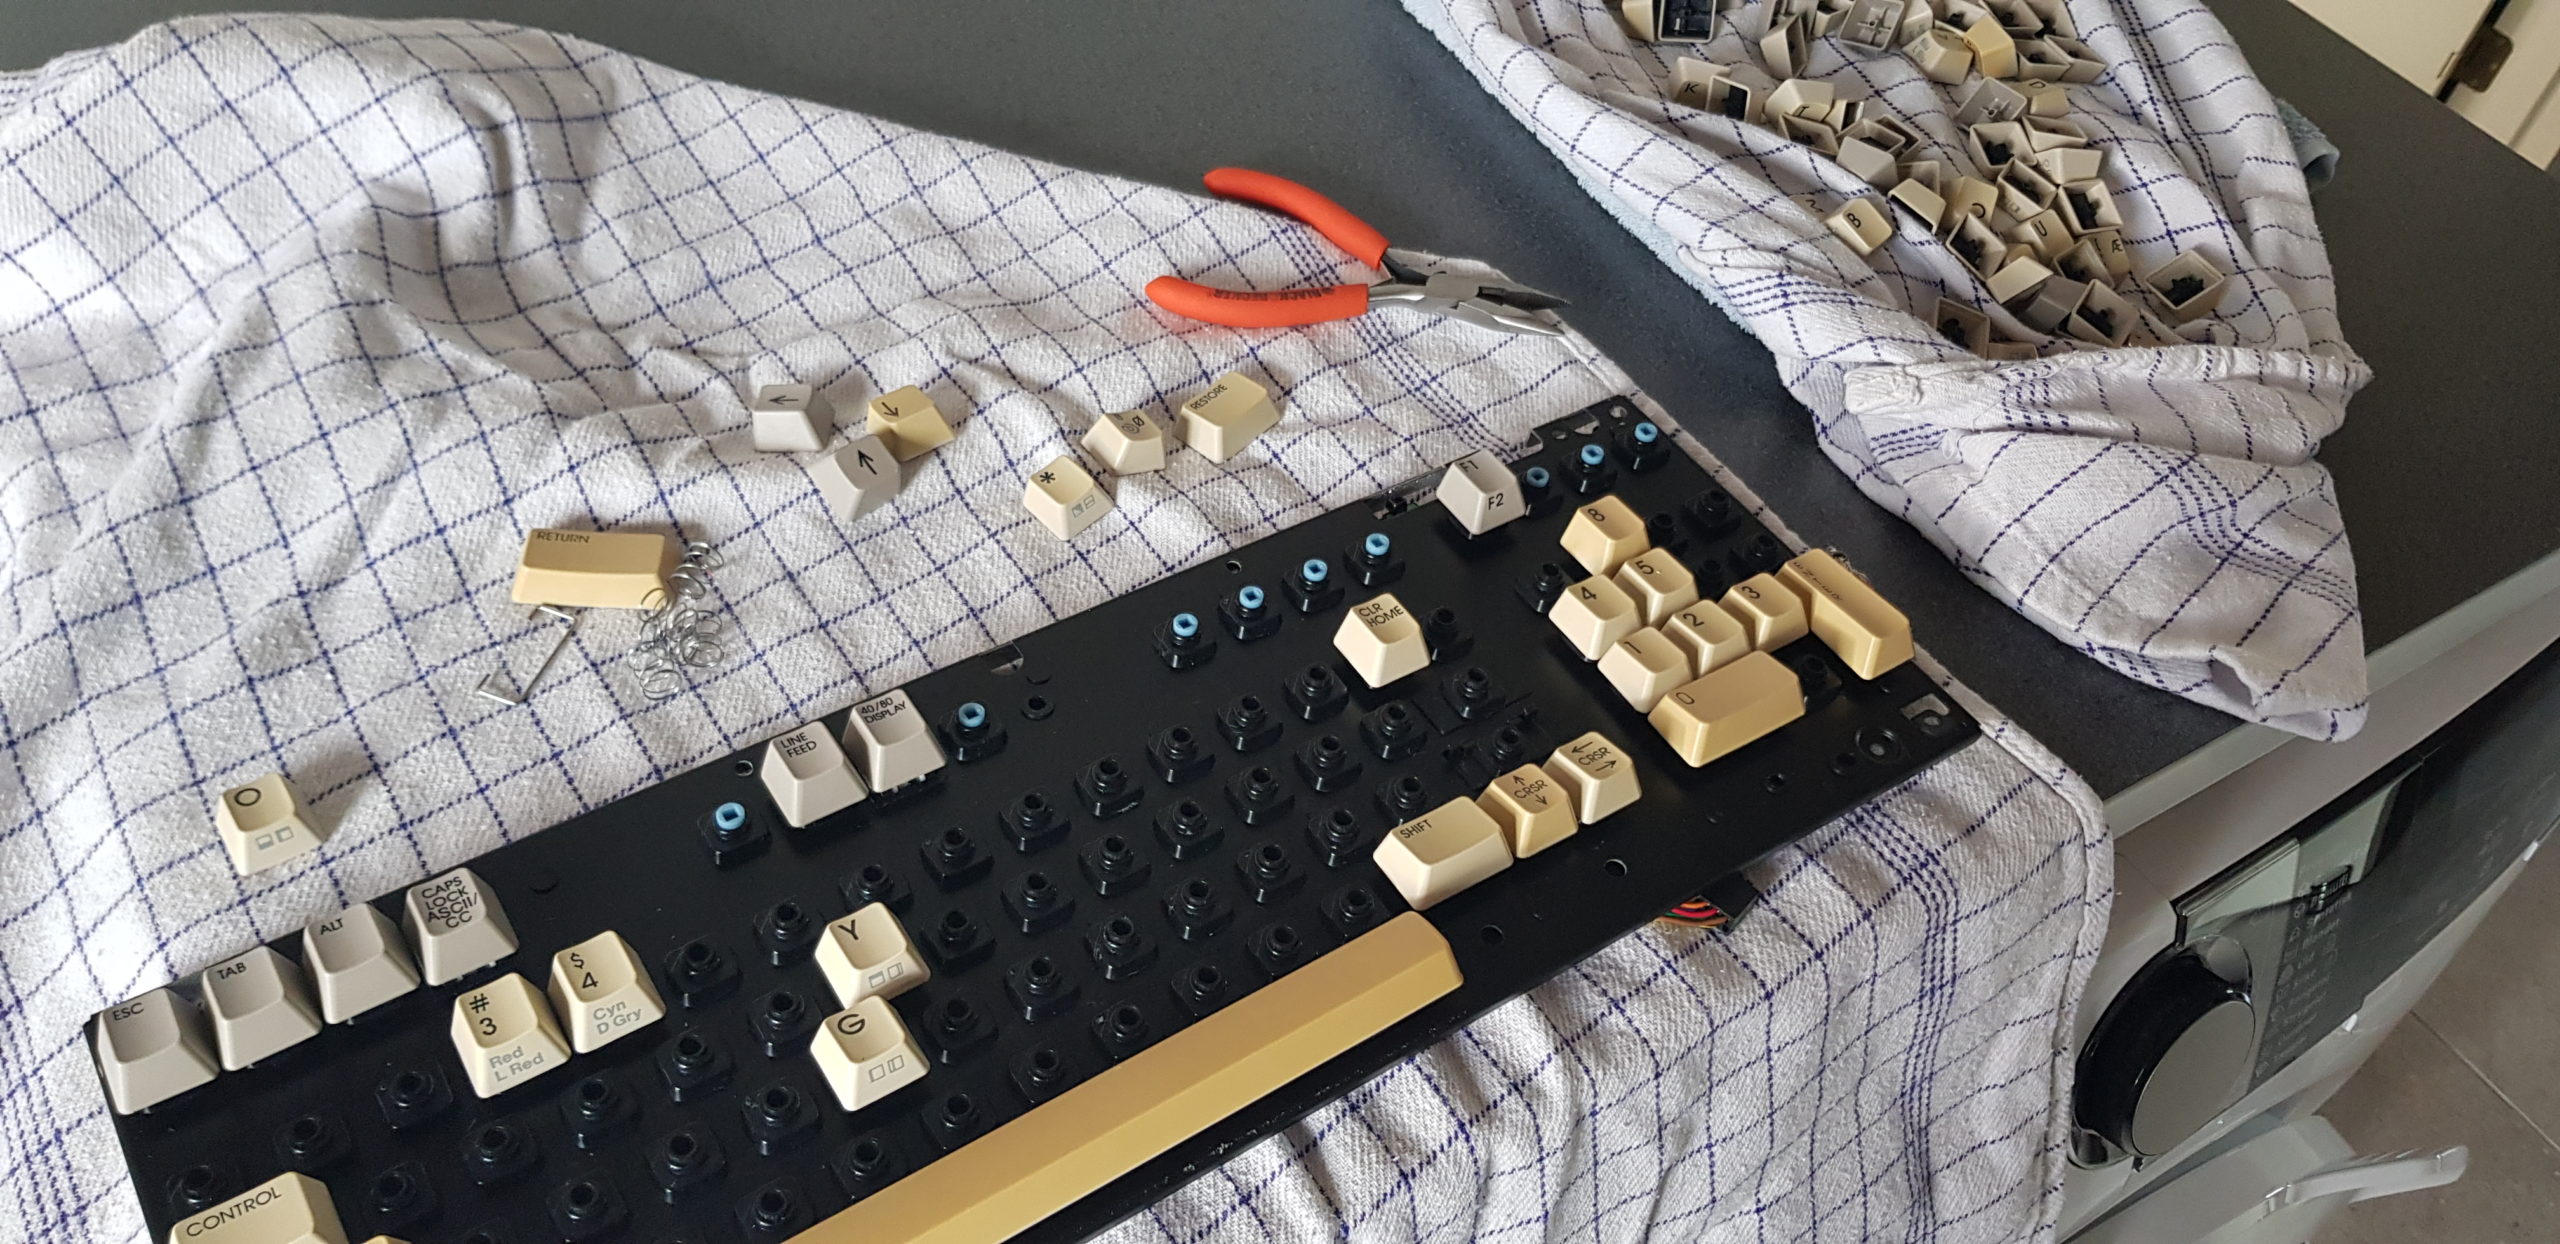
So I disassembled the computer. The “K” key was stuck, and I was kinda hoping that a good cleanup would fix it. It turns out that the C128 series has a common problem that the plunges sometimes fail or brea, so that keys get stuck and won’t come up again.. kinda like they are stuck because of grease or dust.
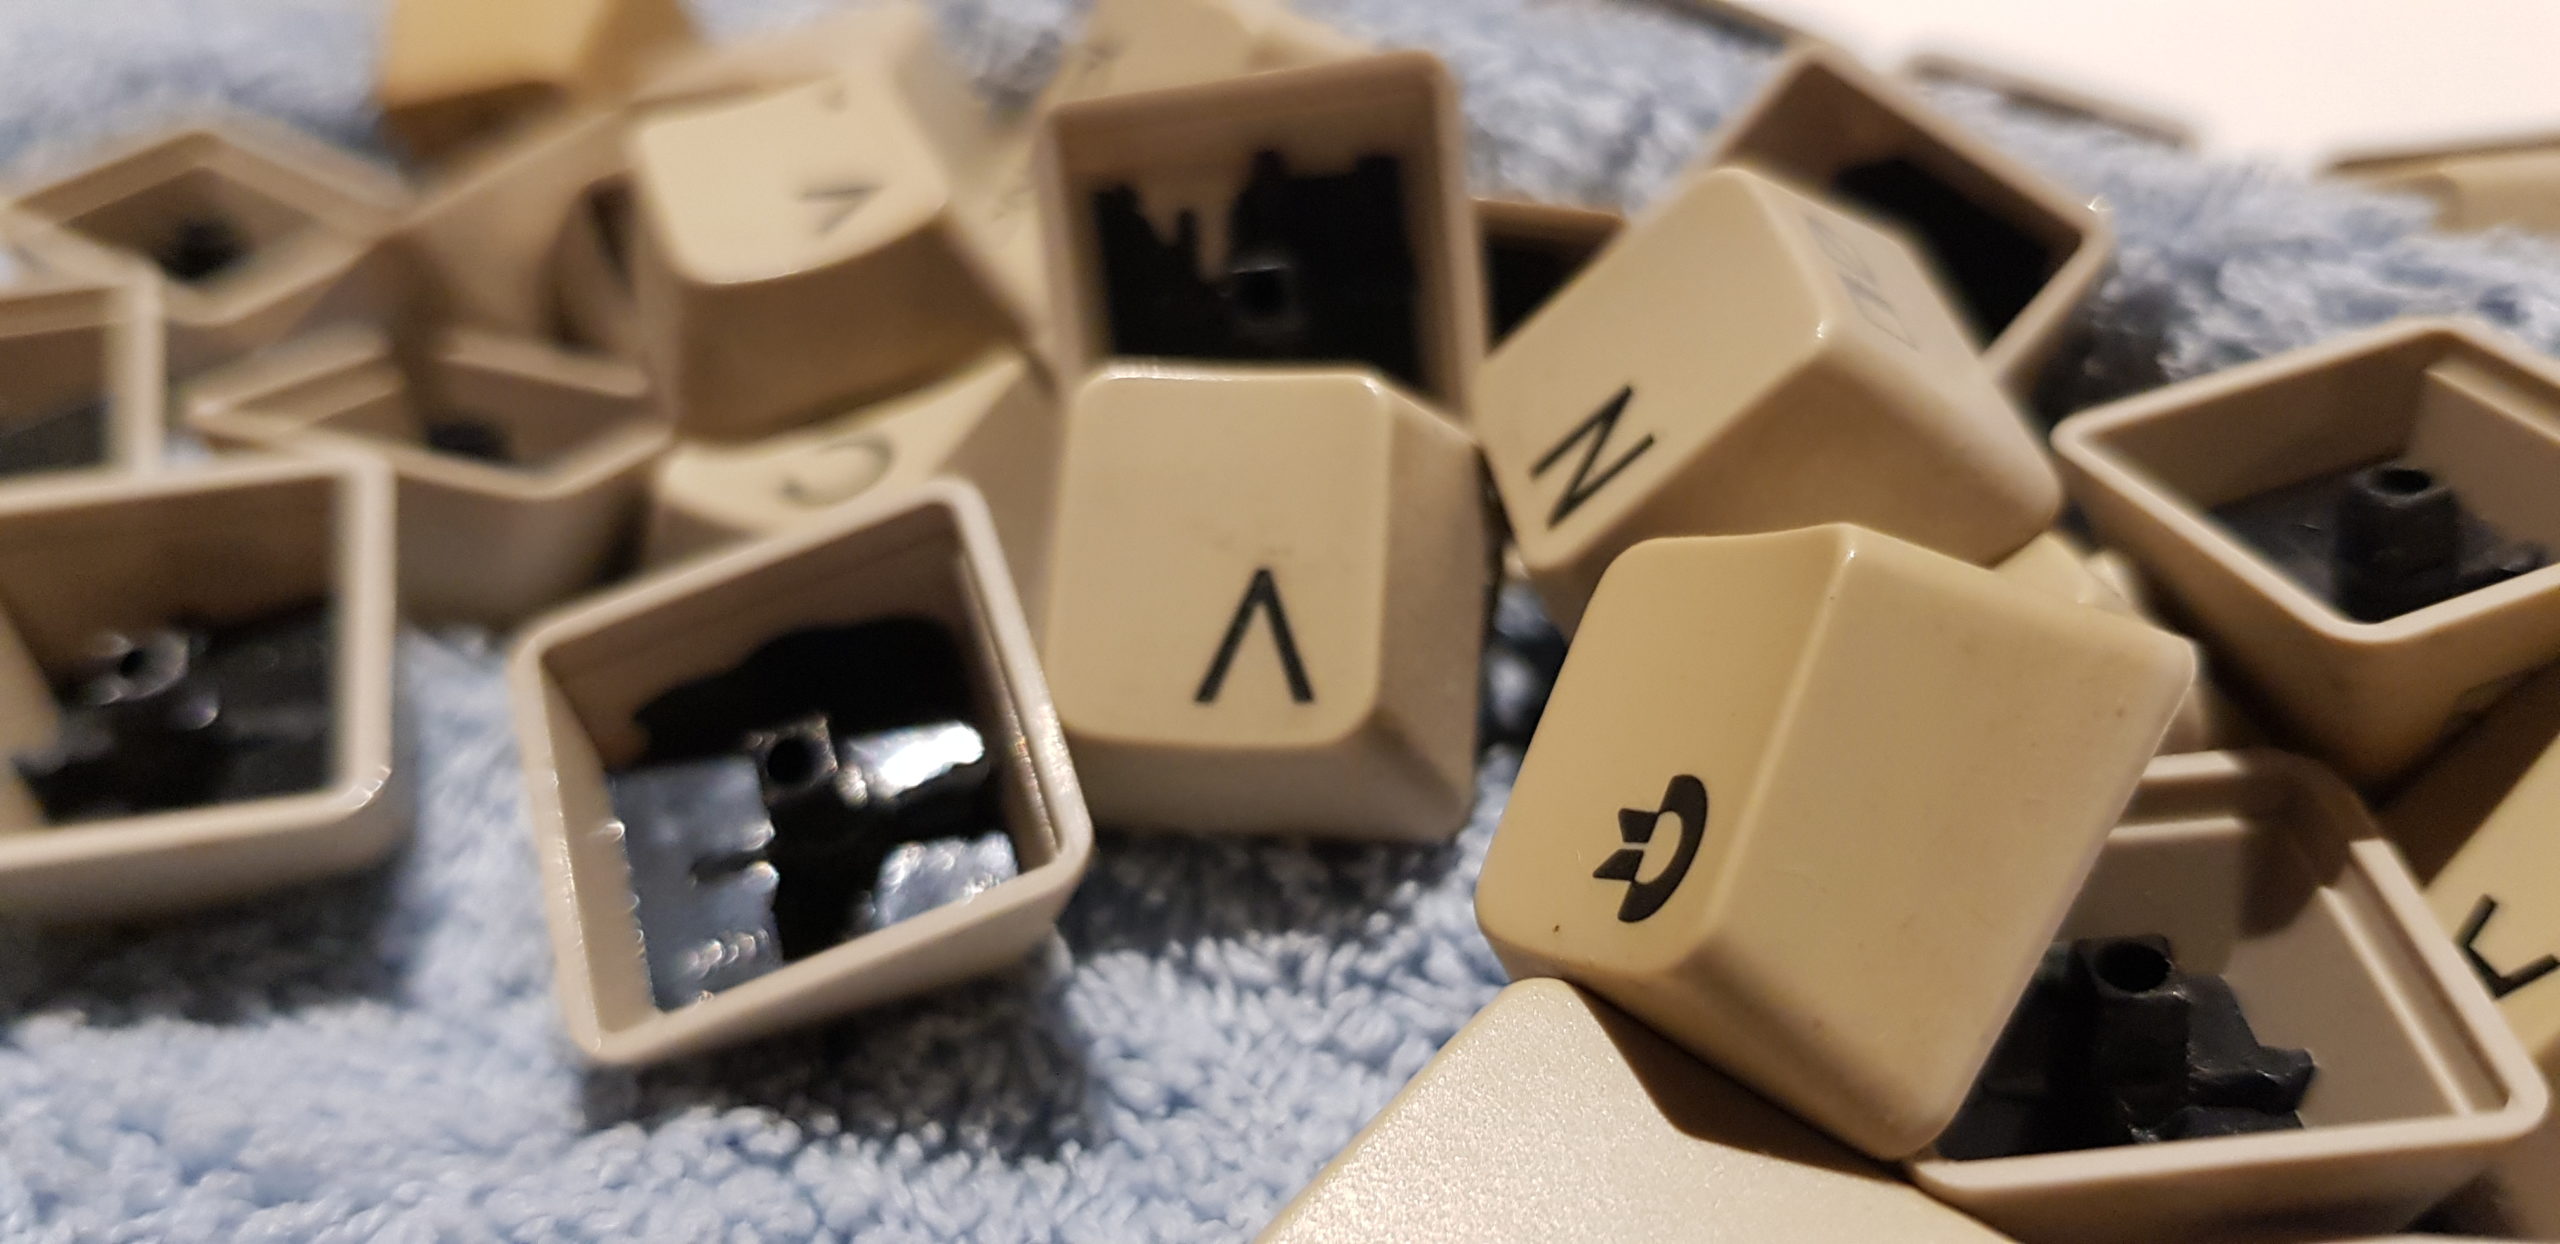
I removed all the keys, and they all got a good clean in my little ultra sonic cleaning machine. It took 4 rounds to get them all cleaned, 8 minutes in total for each set. I added a little bit of dishwashing soap to the water. The water came out really dark, so obviously it did remove some grease 🙂
In the end, I turned to my trusty dishwashing machine, lowest temperature setting of 40 degrees celcius – and all the keys got another wash there. I added the keys to my small plastic container where I usually have knifes, forks, spoons, so that they could remain within that container. Also I took the dirty keyboard and placed it in the upper tray of the machine and turned it upside down (keys facing down, electronic part facing up to the top of the machine). I stopped the machine before the dry cycle, so that is about 15-20 mins before the program ends, to make sure it would not destroy the plastic, stretch it, bend it etc.
The result was pretty nice.. before and after:

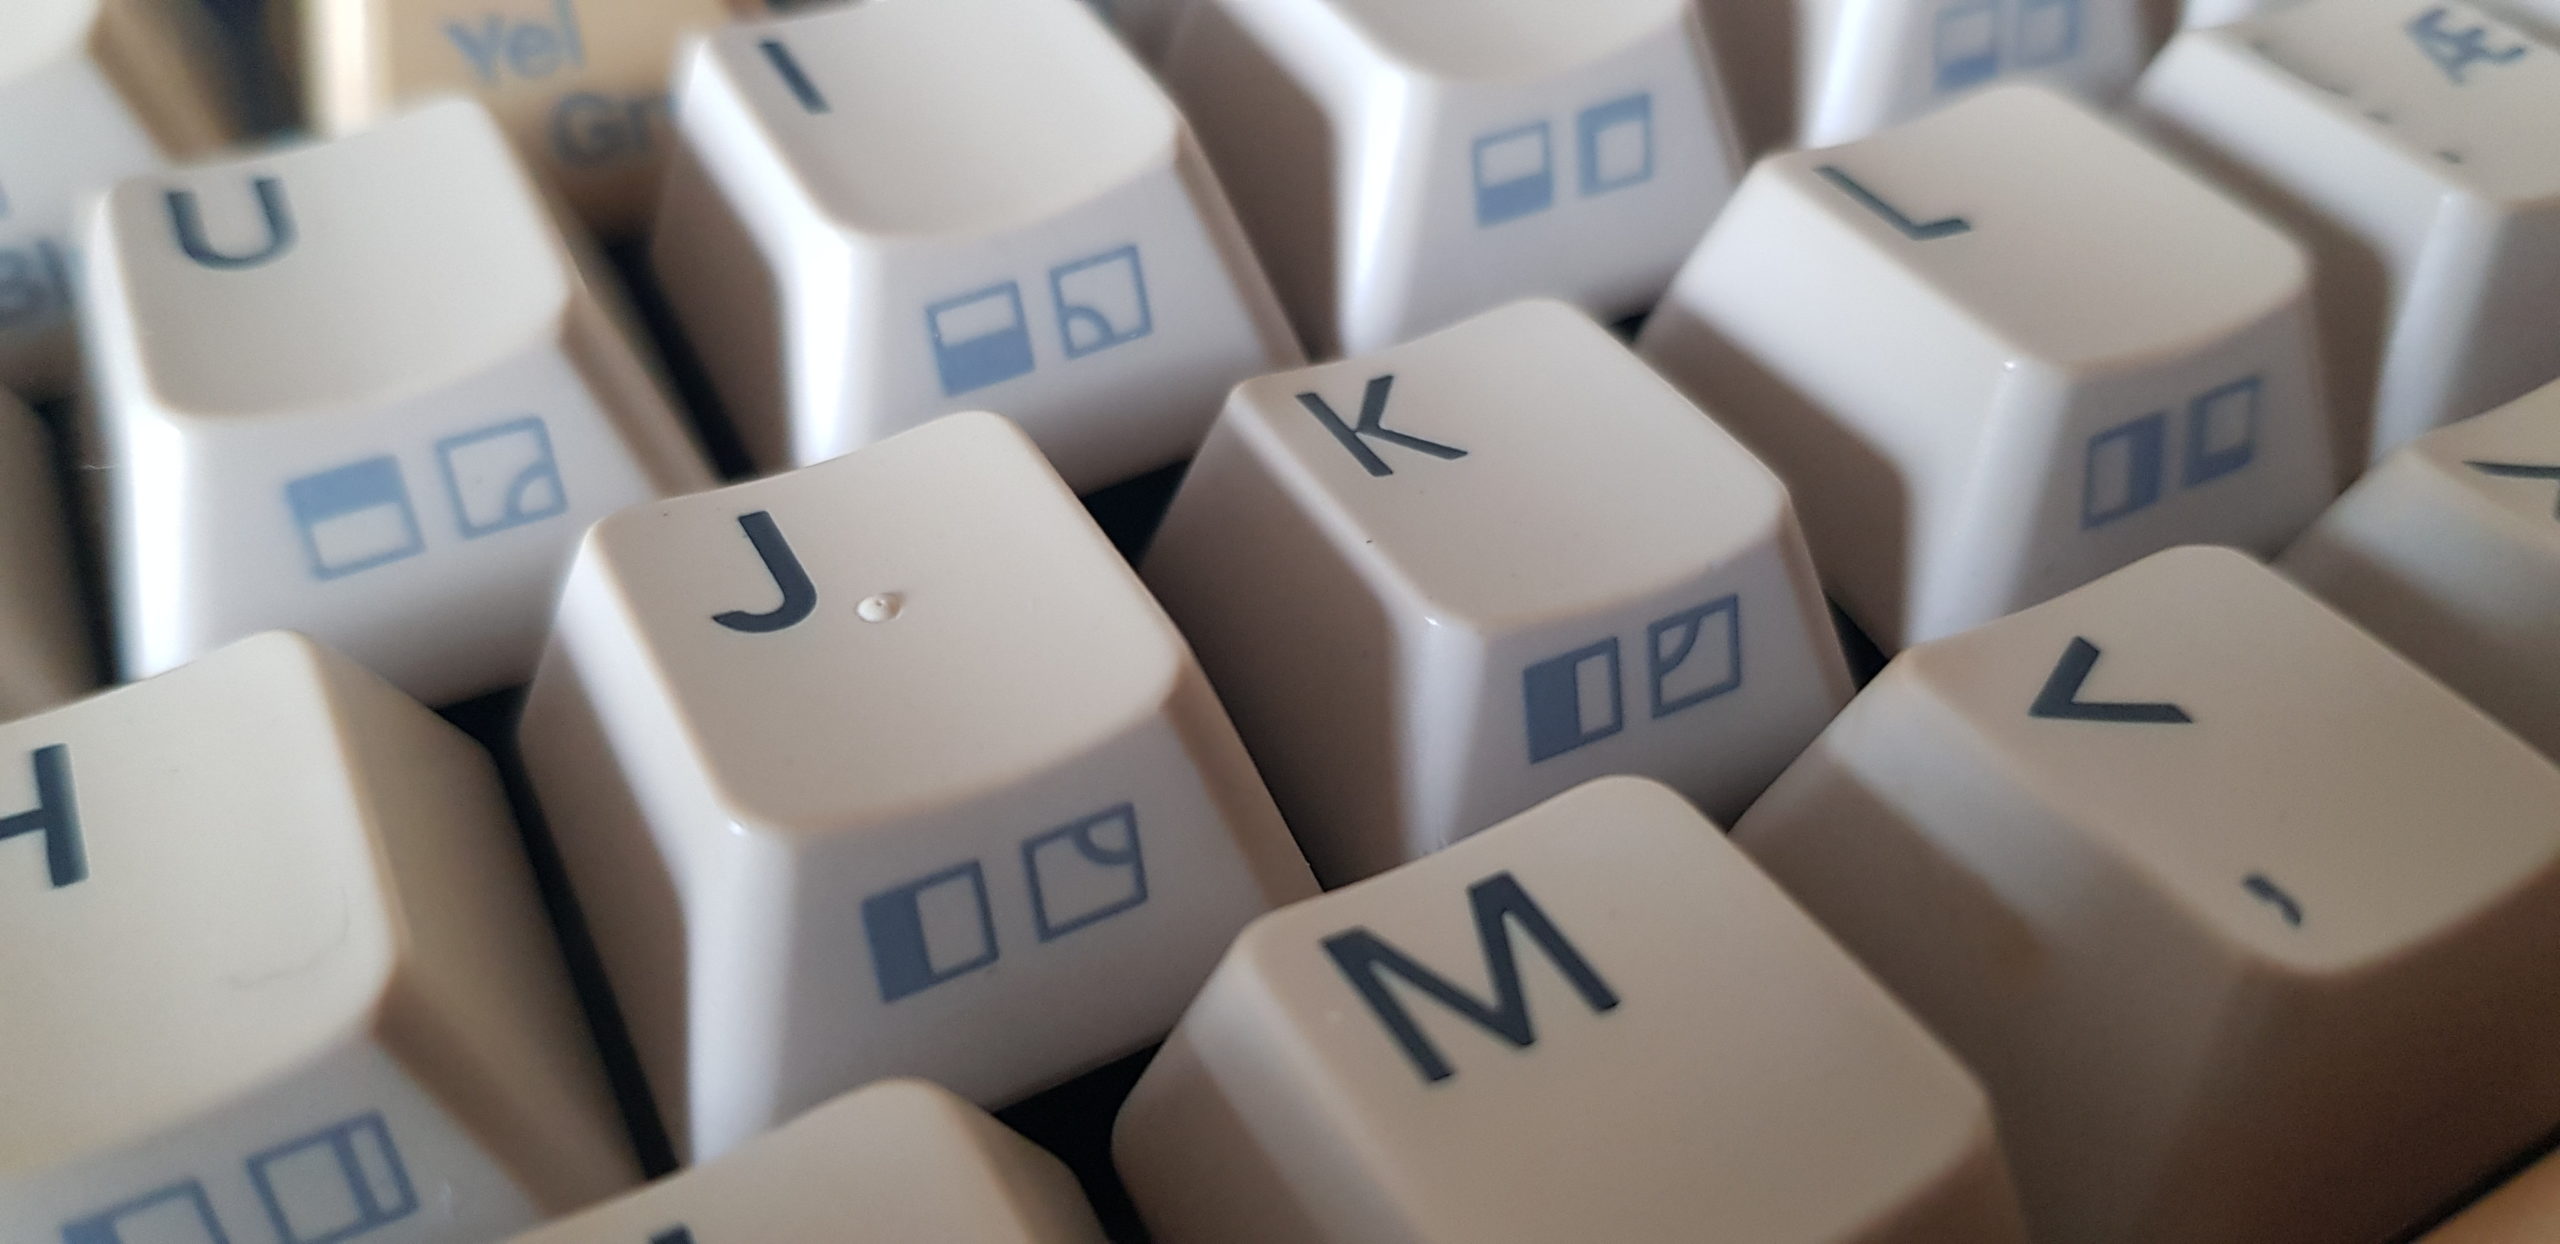
Seriously, if it was not for the yellowing of some of the plastic, it came out pretty new. I also gave the top and bottom cover a wash in the machine, same procedure, same temperature. It came out really nice too. There was a tiny bit of discoloring on the case, which I managed to remove by one of those melanin-sponges – I just wiped it with a dry melanin sponge on that spot without using too much force, and the discoloring disappeared.
I rinsed the electronic part of the keyboard with demineralized water on both sides, and then I let the keyboard and keys dry on a heated floor, key/plunge part facing down and placed on a thick towel, for 3 days straight.
After 3 days and securing it was all dry, it was time to assemble it again.
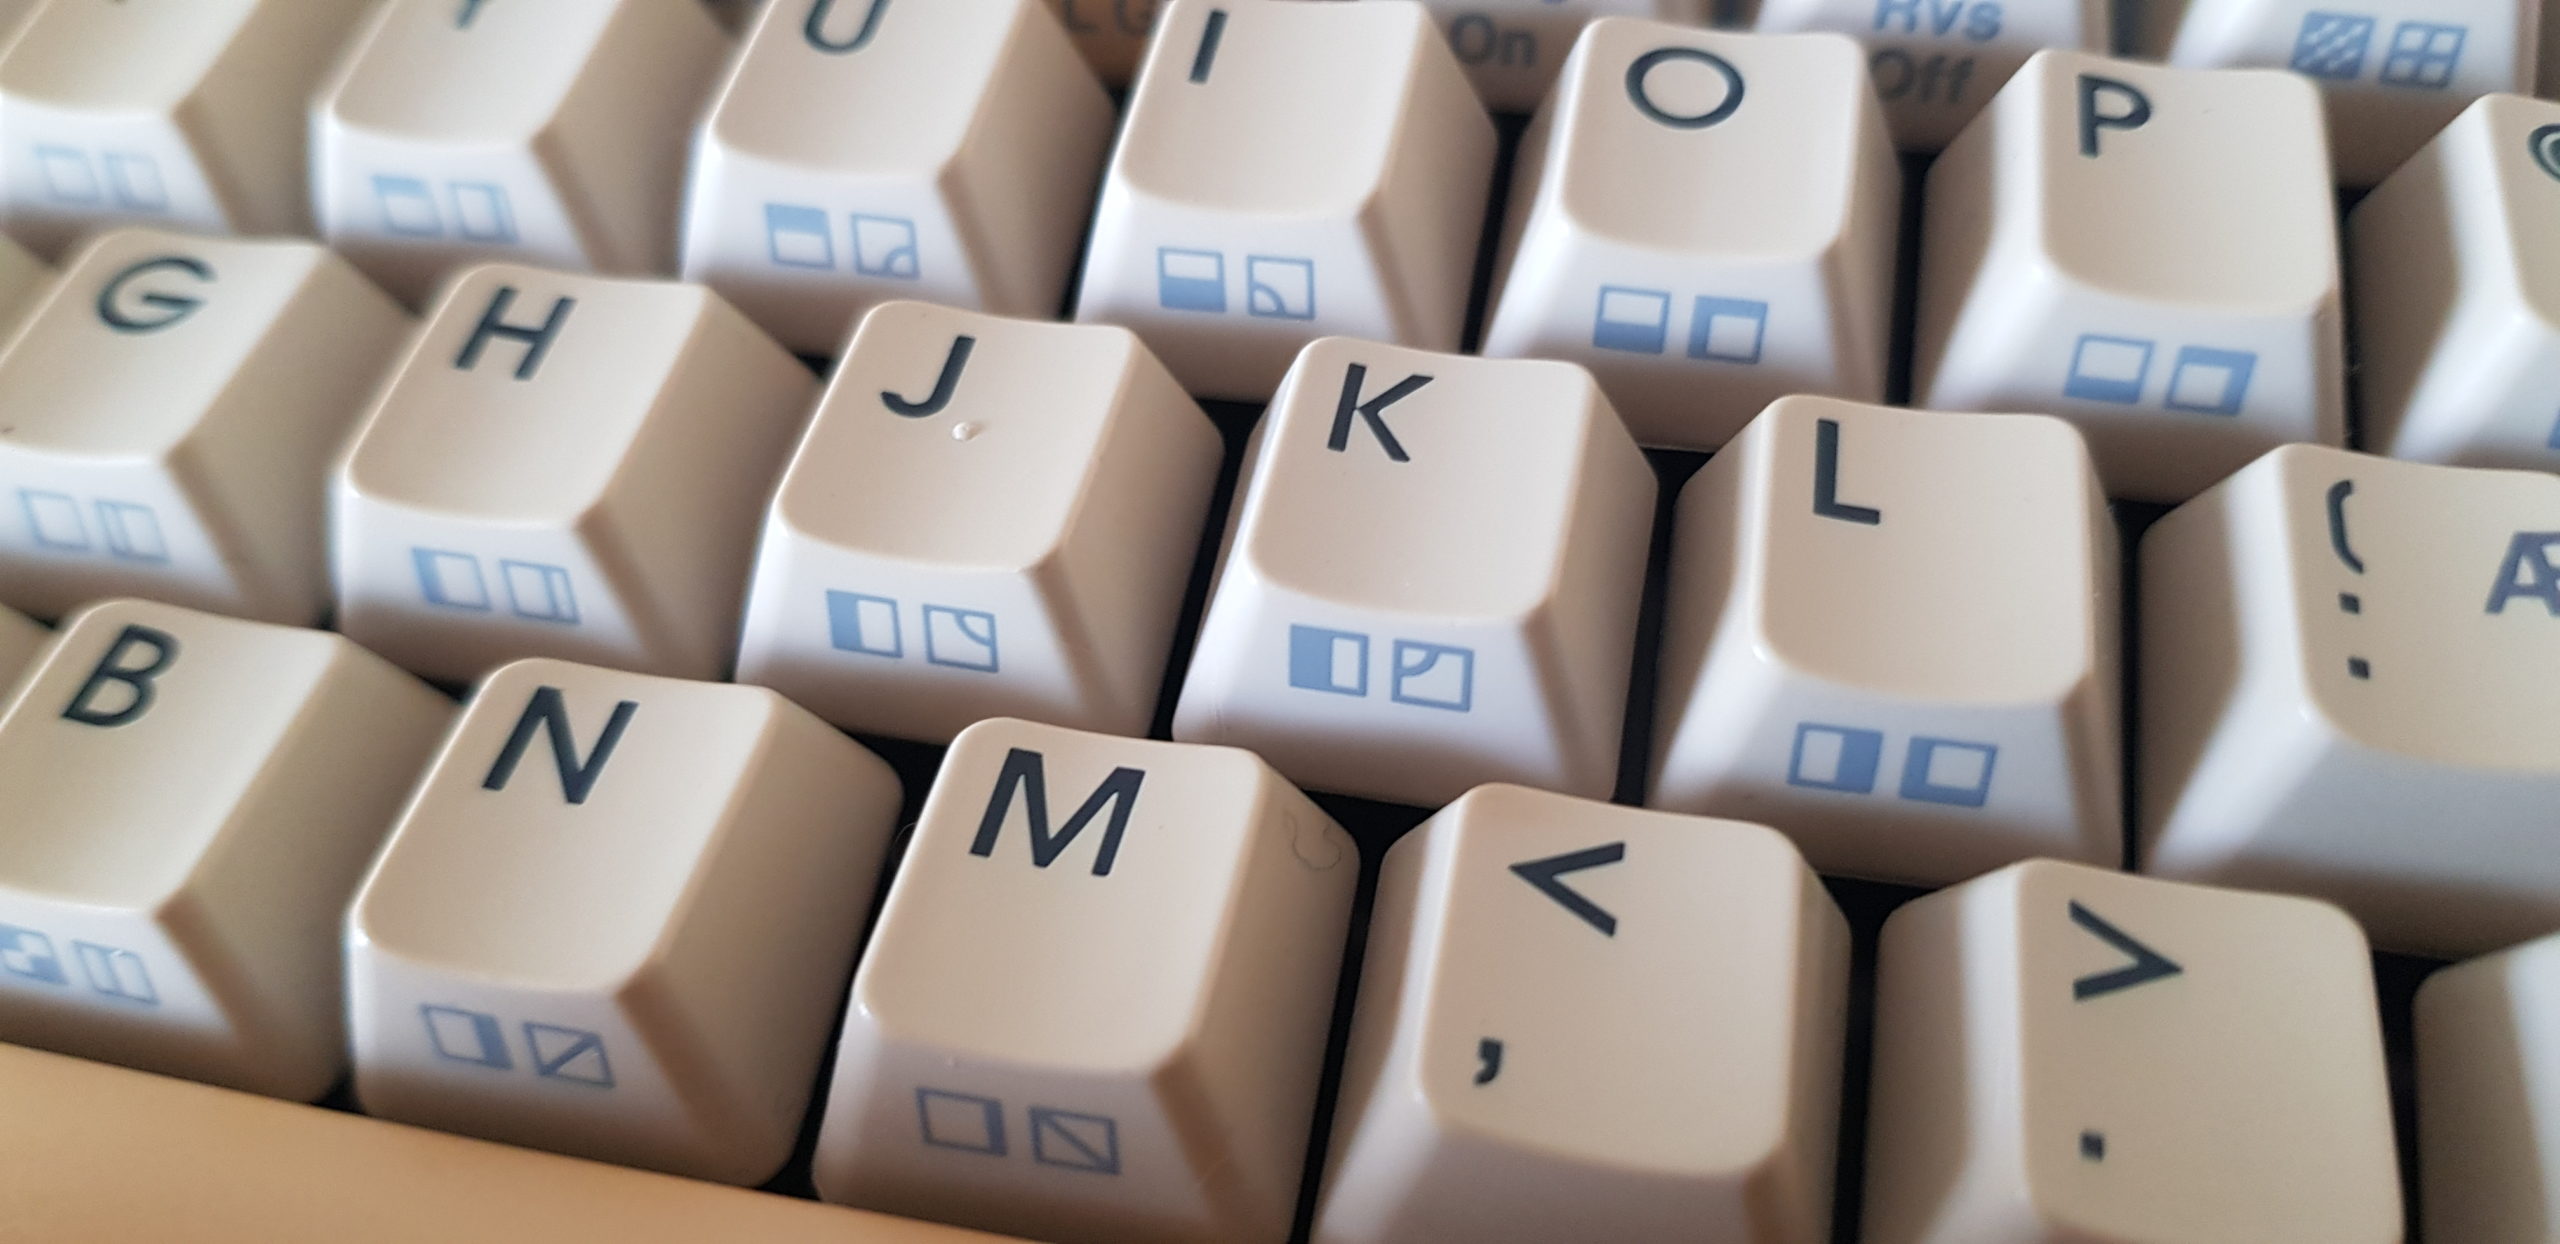
So, as I mentioned he “K” key was stuck – and it remained to be so. I had to do more work to fix that single key…. everything else was fixed and very smooth to type on.
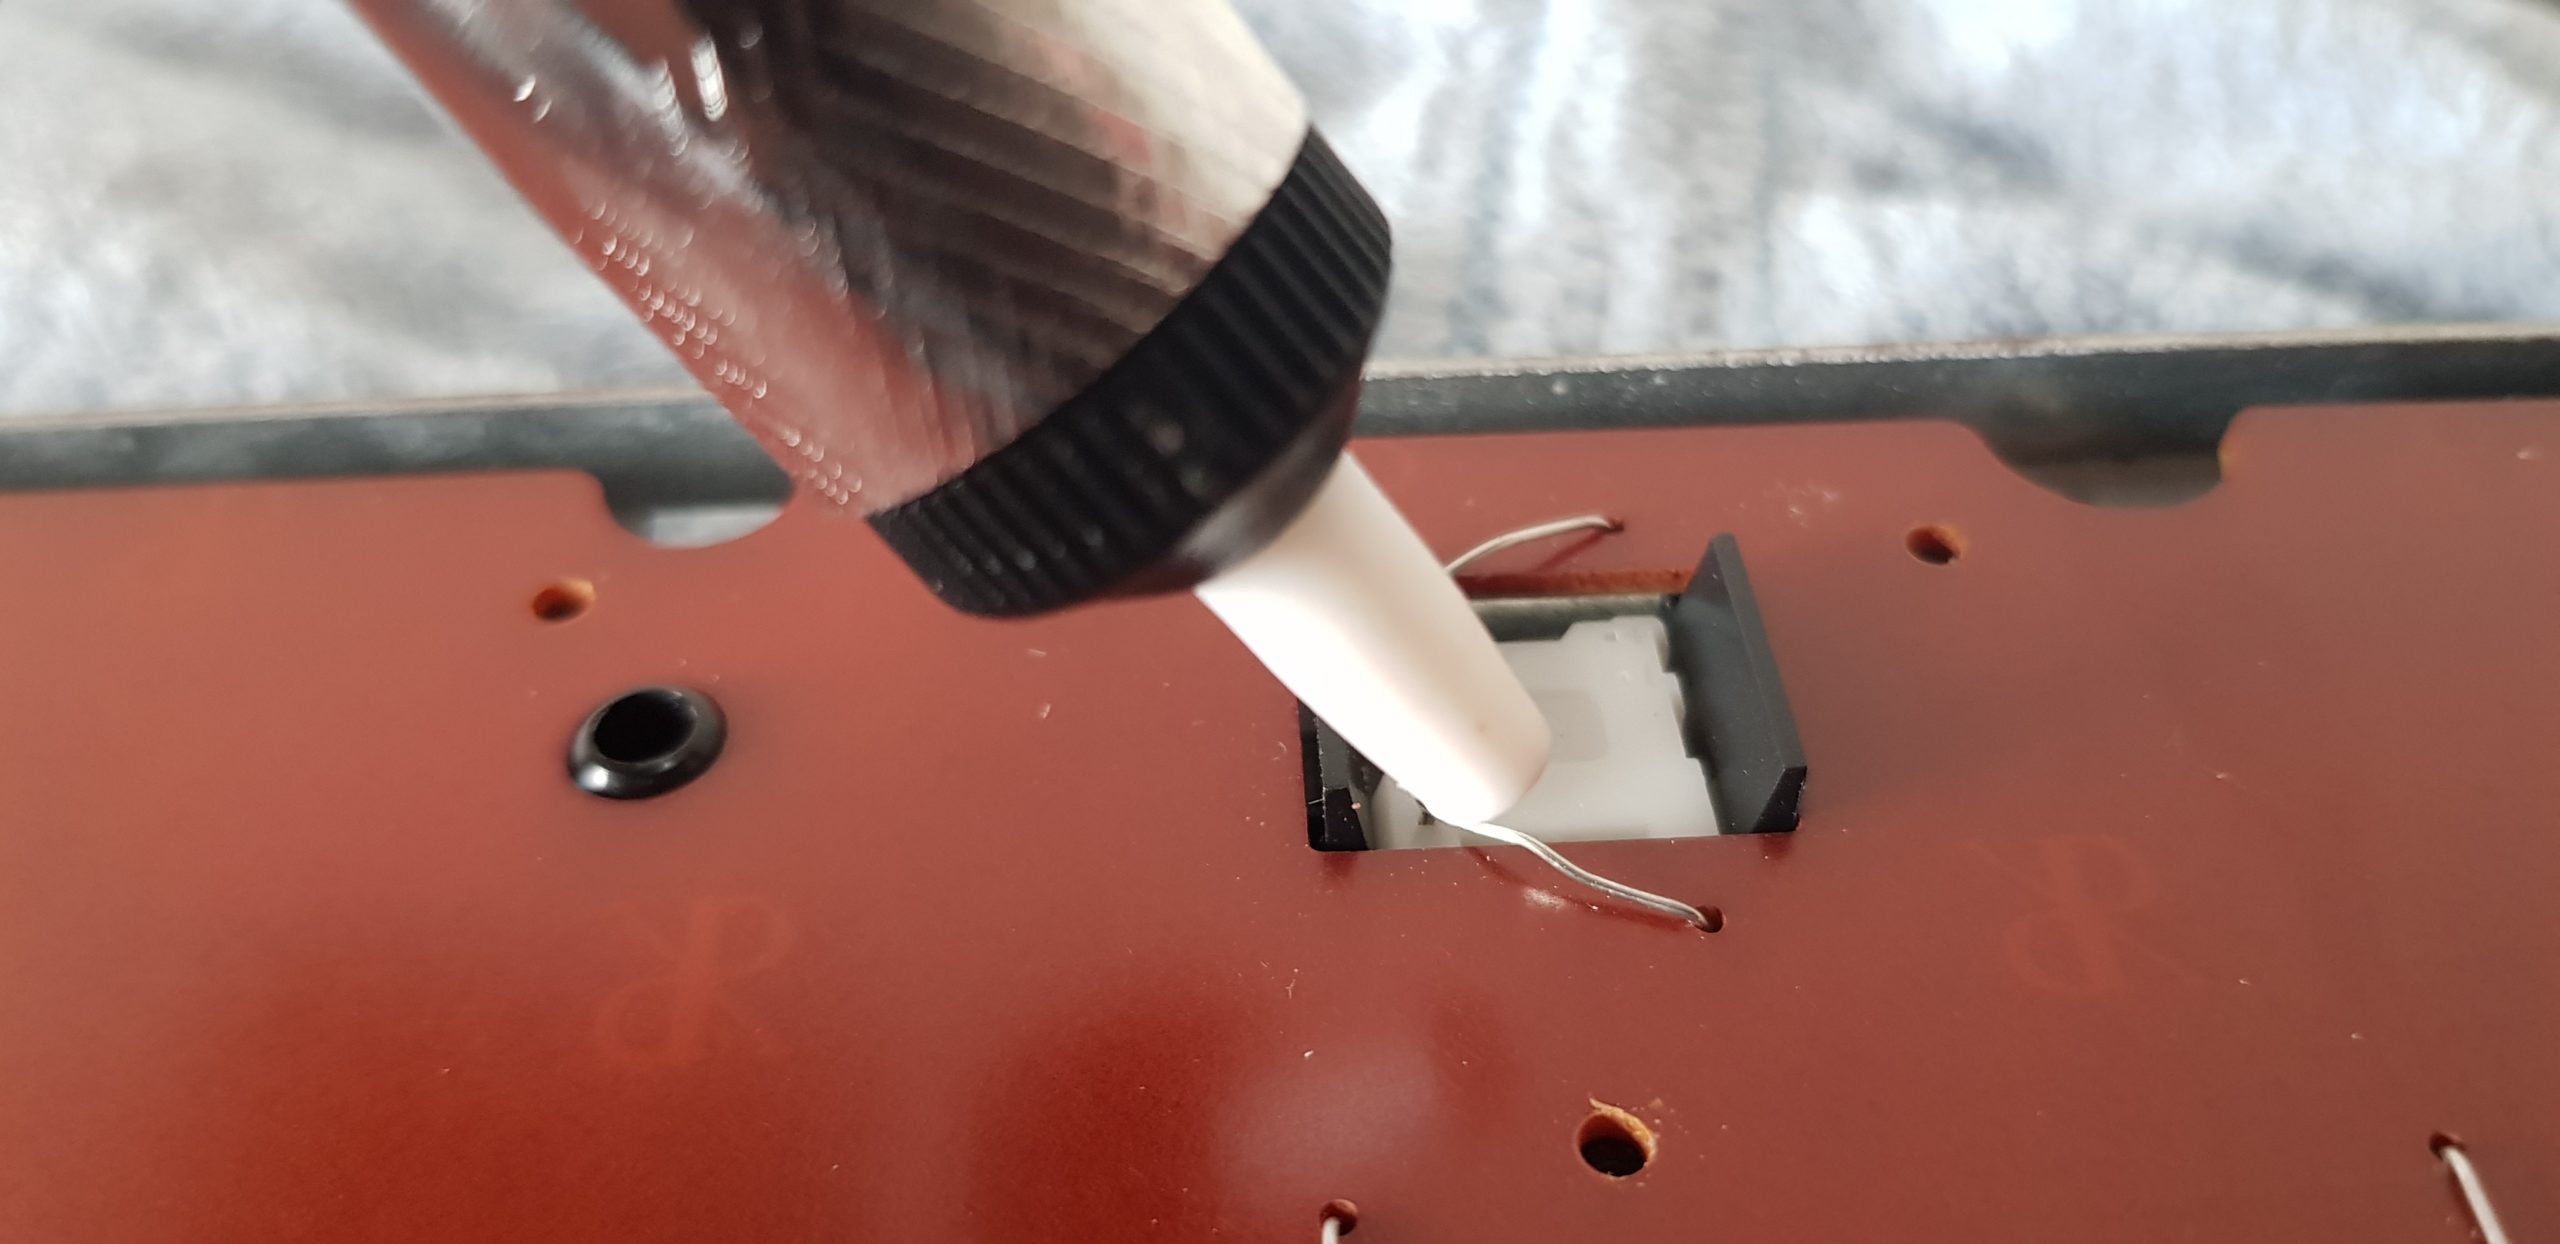
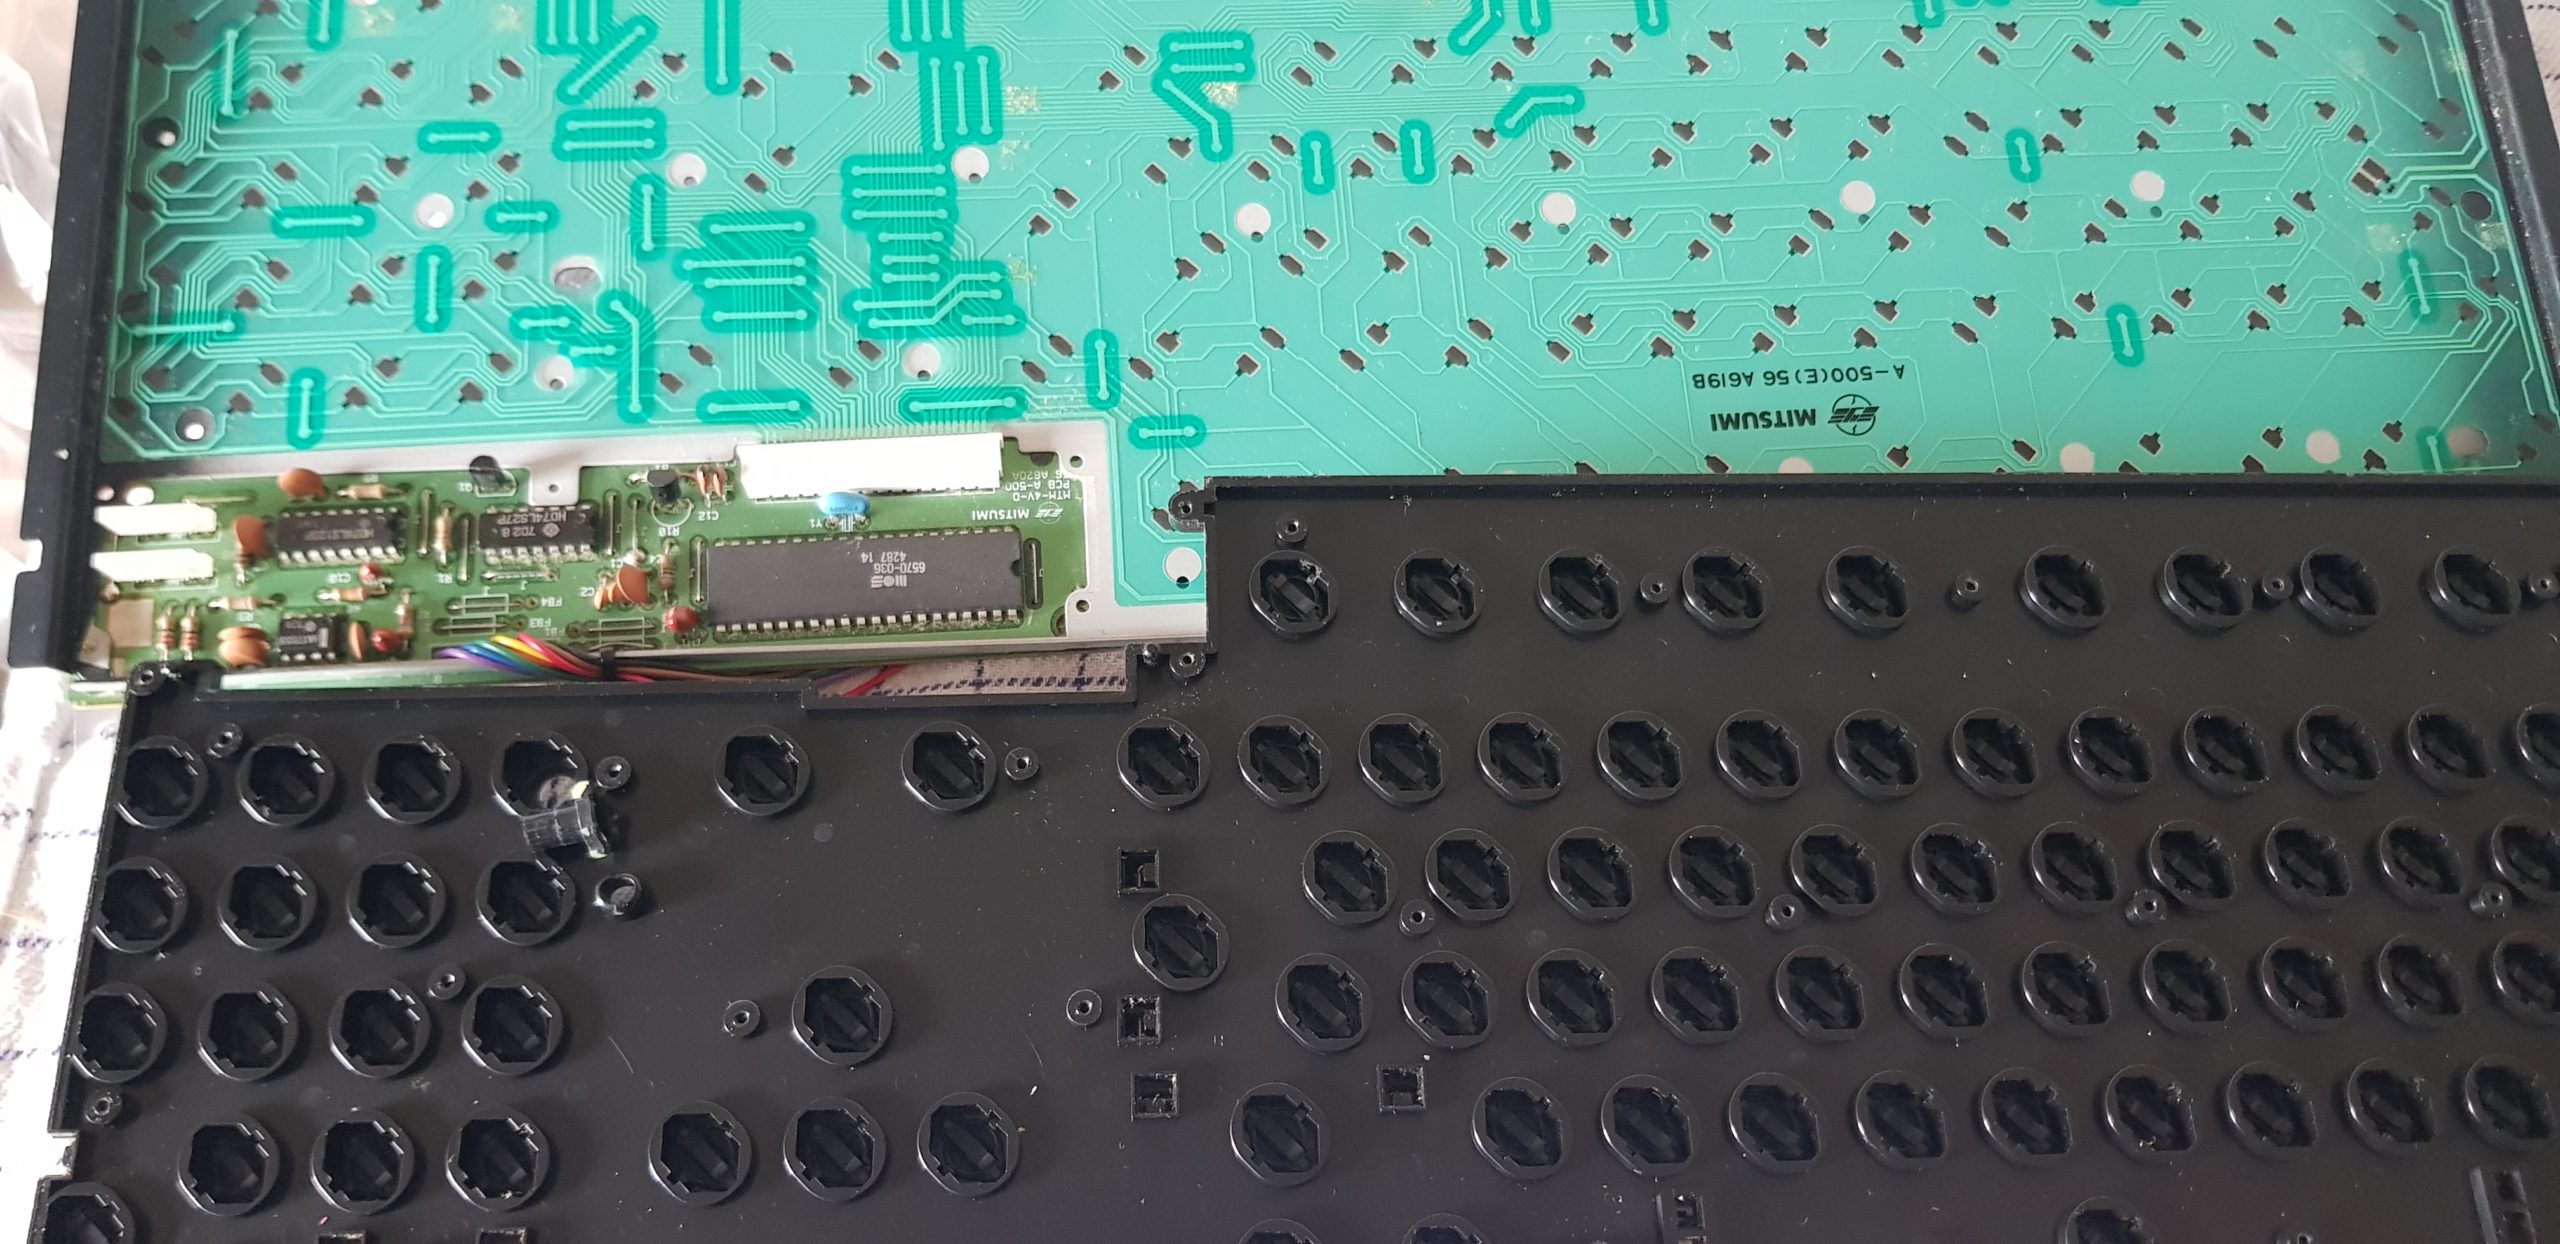
In order to fix that, I had to remove all the tiny screws on the backside of the keyboard, and I also had to desolder the connections of the 3 special keys (Run/Stop, Caps Lock, 40/80 Chars) to be able to remove the PCB and to access all the plunges…
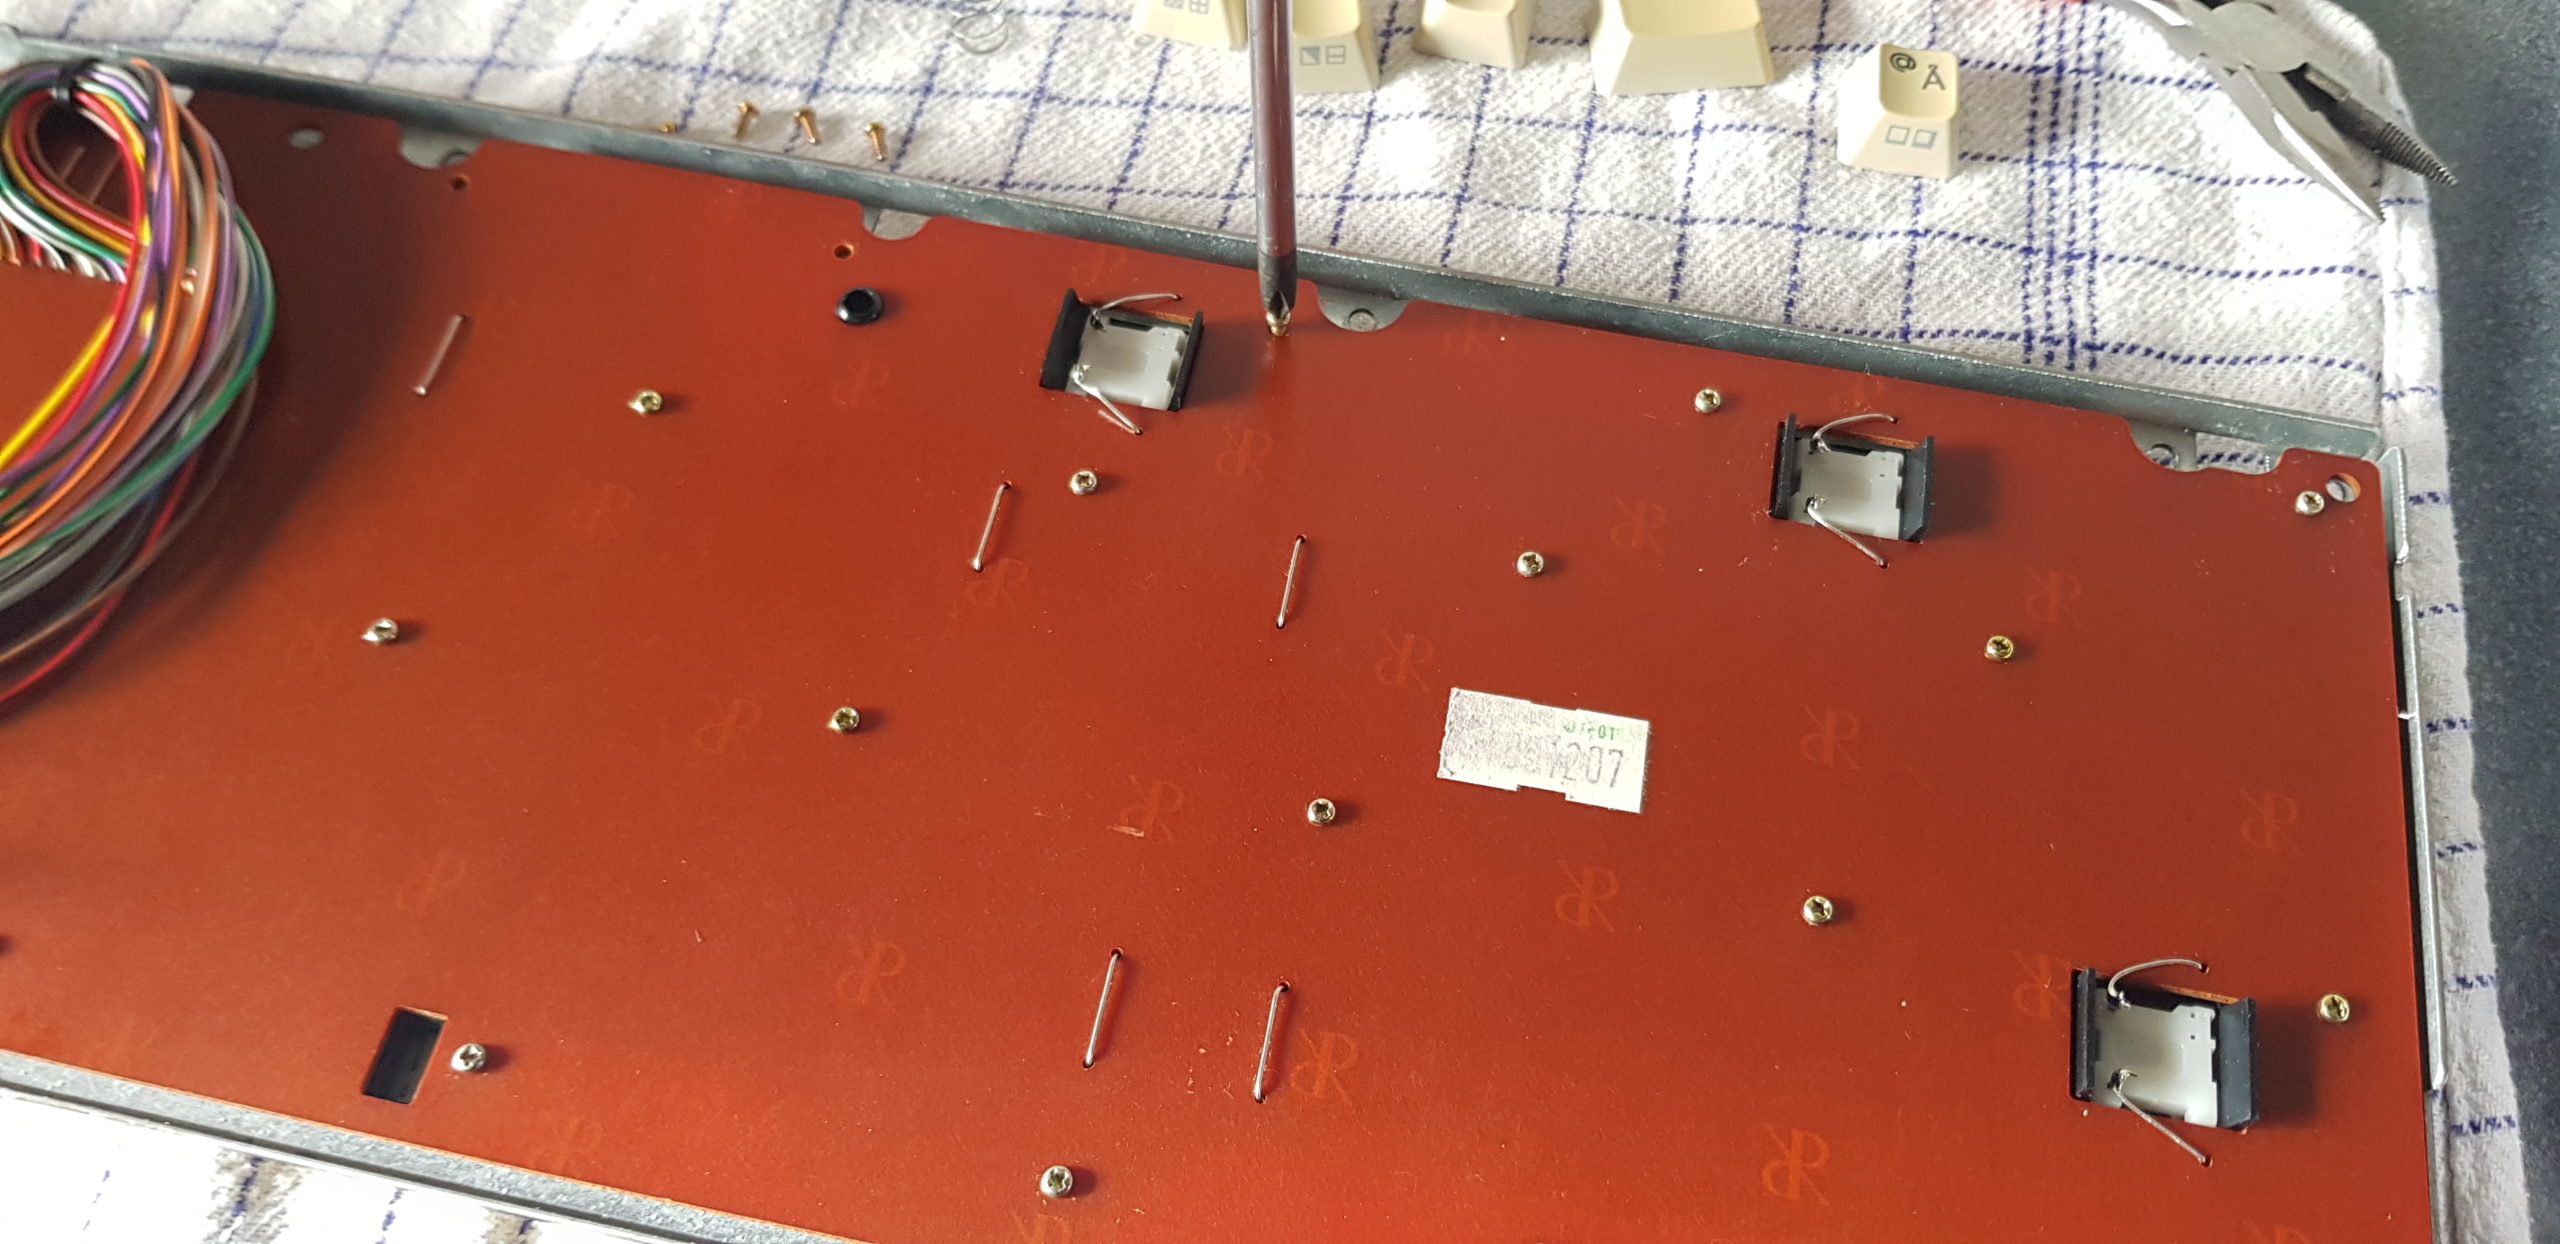

So, I needed a spare plunge to replace on the C128. Fortunately I had a spare Amiga 500 keyboard which I kept for emergency repairs – and fortunately it happens to have the same plunges and the same springs as the C128. So I grabbed a plunge and a spring from the A500 keyboard..
Finally I could have a working “K” key again – and I could assemble the keyboard with the many tiny screws, solder on the 3 special keys connectors again and actually assemble the entire computer.. clean and nice looking!
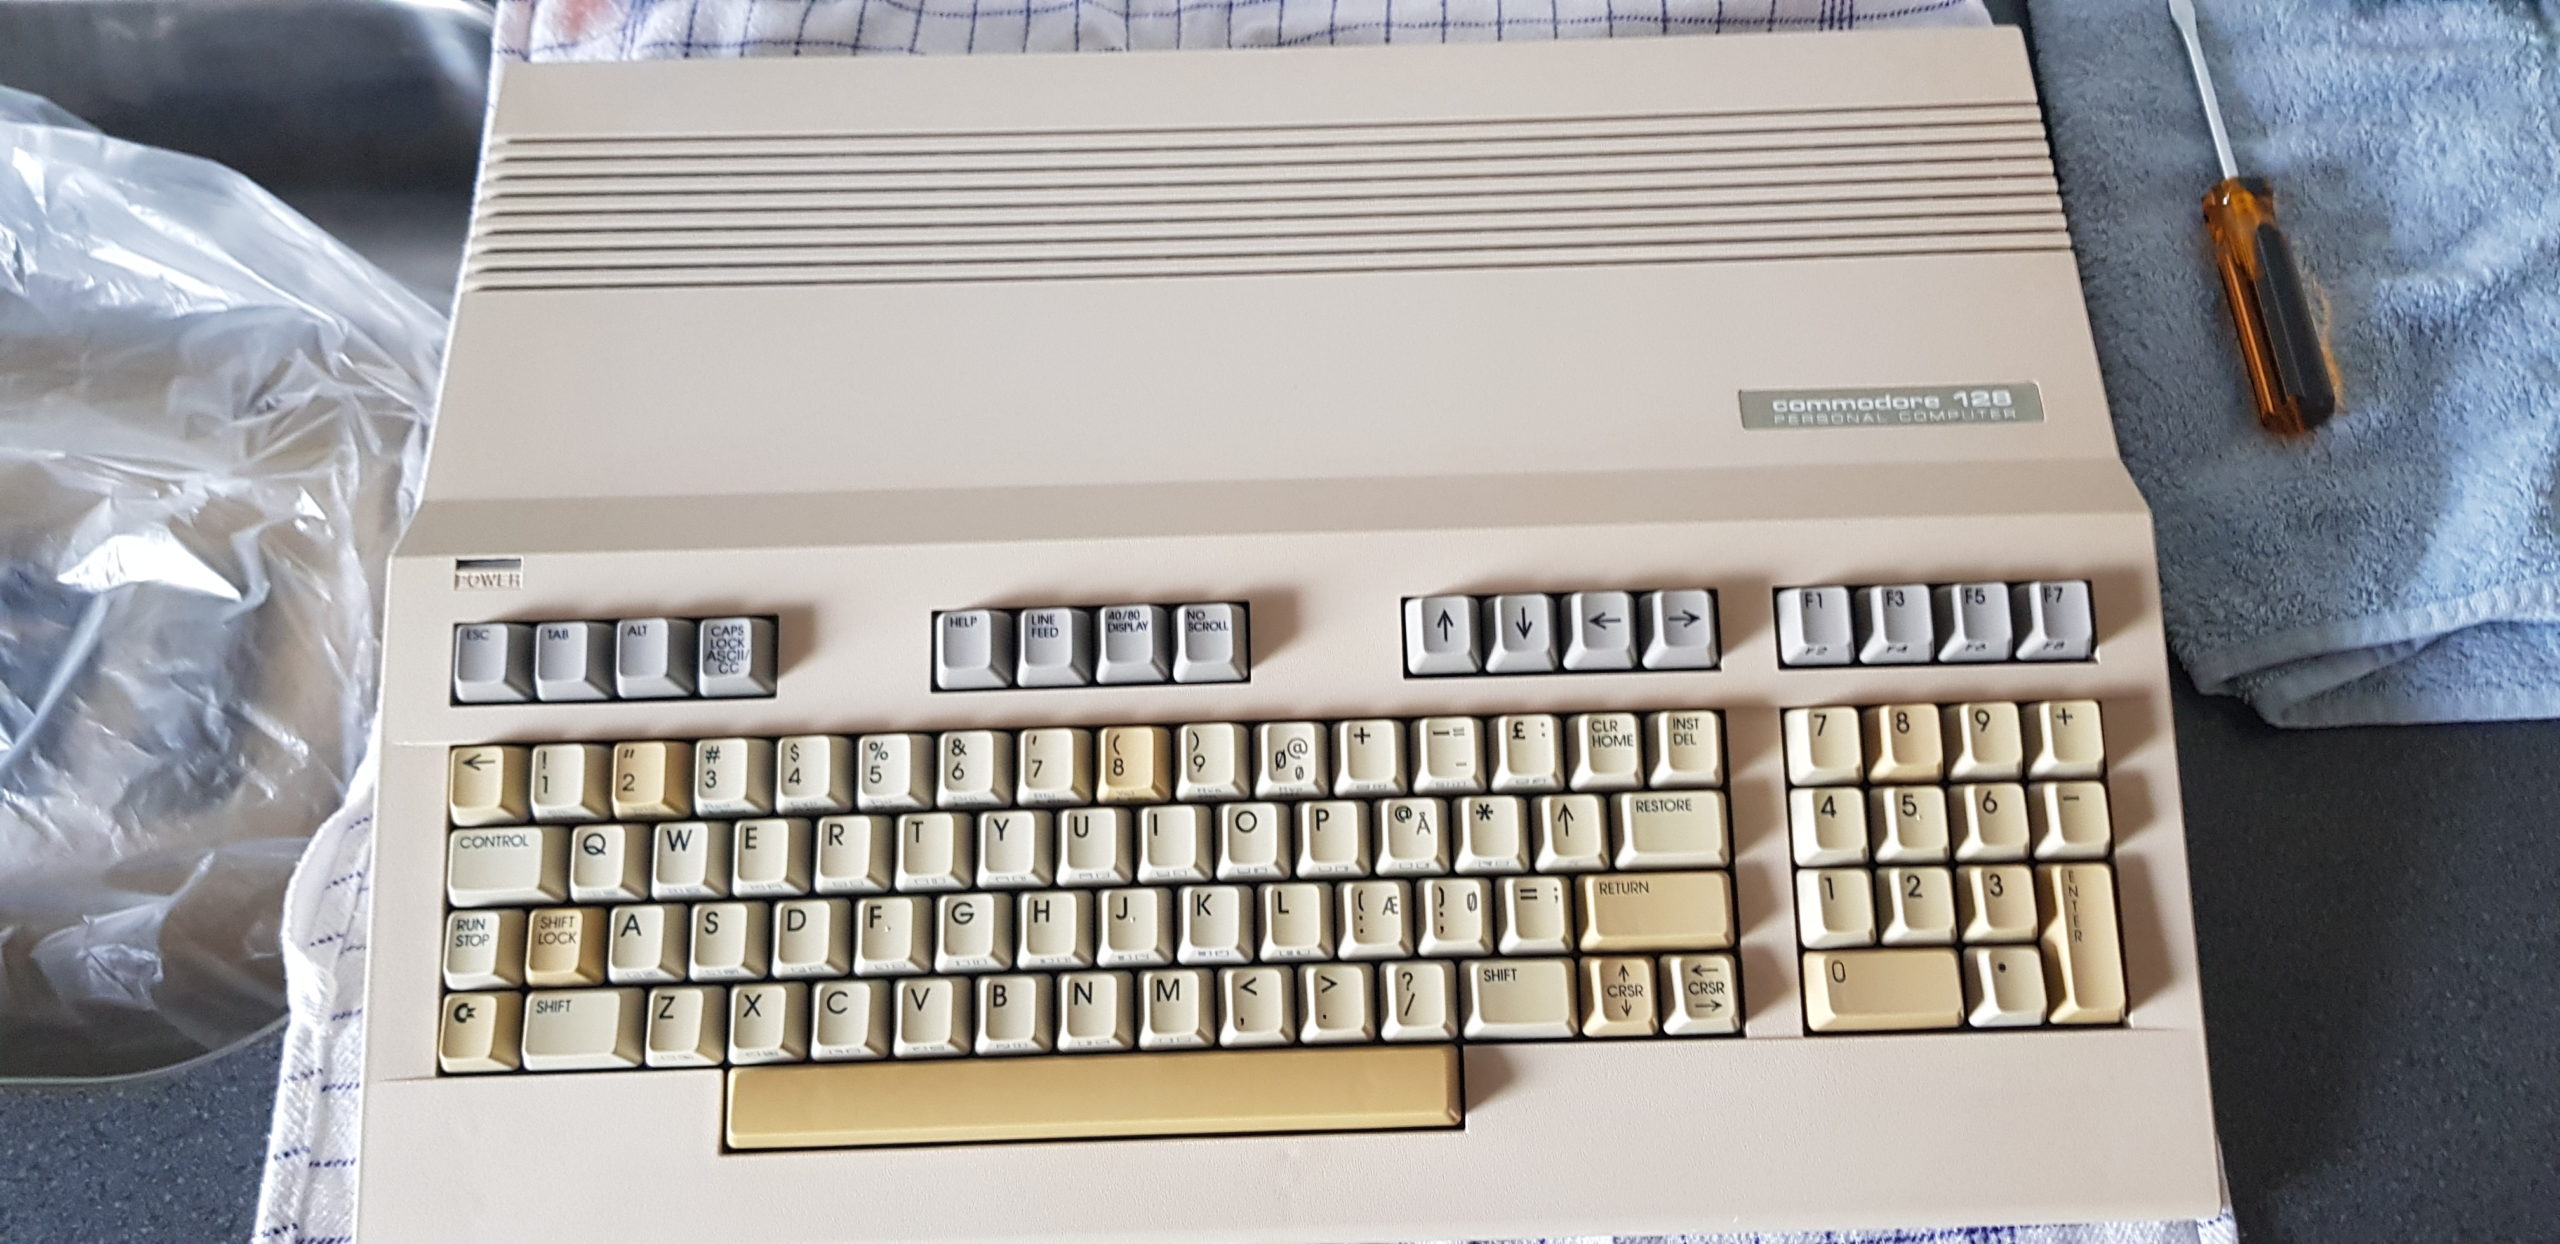
I also heated up the Commodore 128 label gently on the front with a hairdryer, as it was actually attached a bit skewed, maybe from factory.. now it sits neatly where it should.
Some keys suffer from pretty bad yellowing, but I won’t retro- or sunbright it, since generally all reports shows that it only lasts for a limited amount of time anyway, then the discoloring returns. So, I will keep it as it is, and if one day there is a campaign or opportunity to get new C128 keycaps, I will give this machine an overhaul with new keycaps.. if not, it will remain originally as it is.
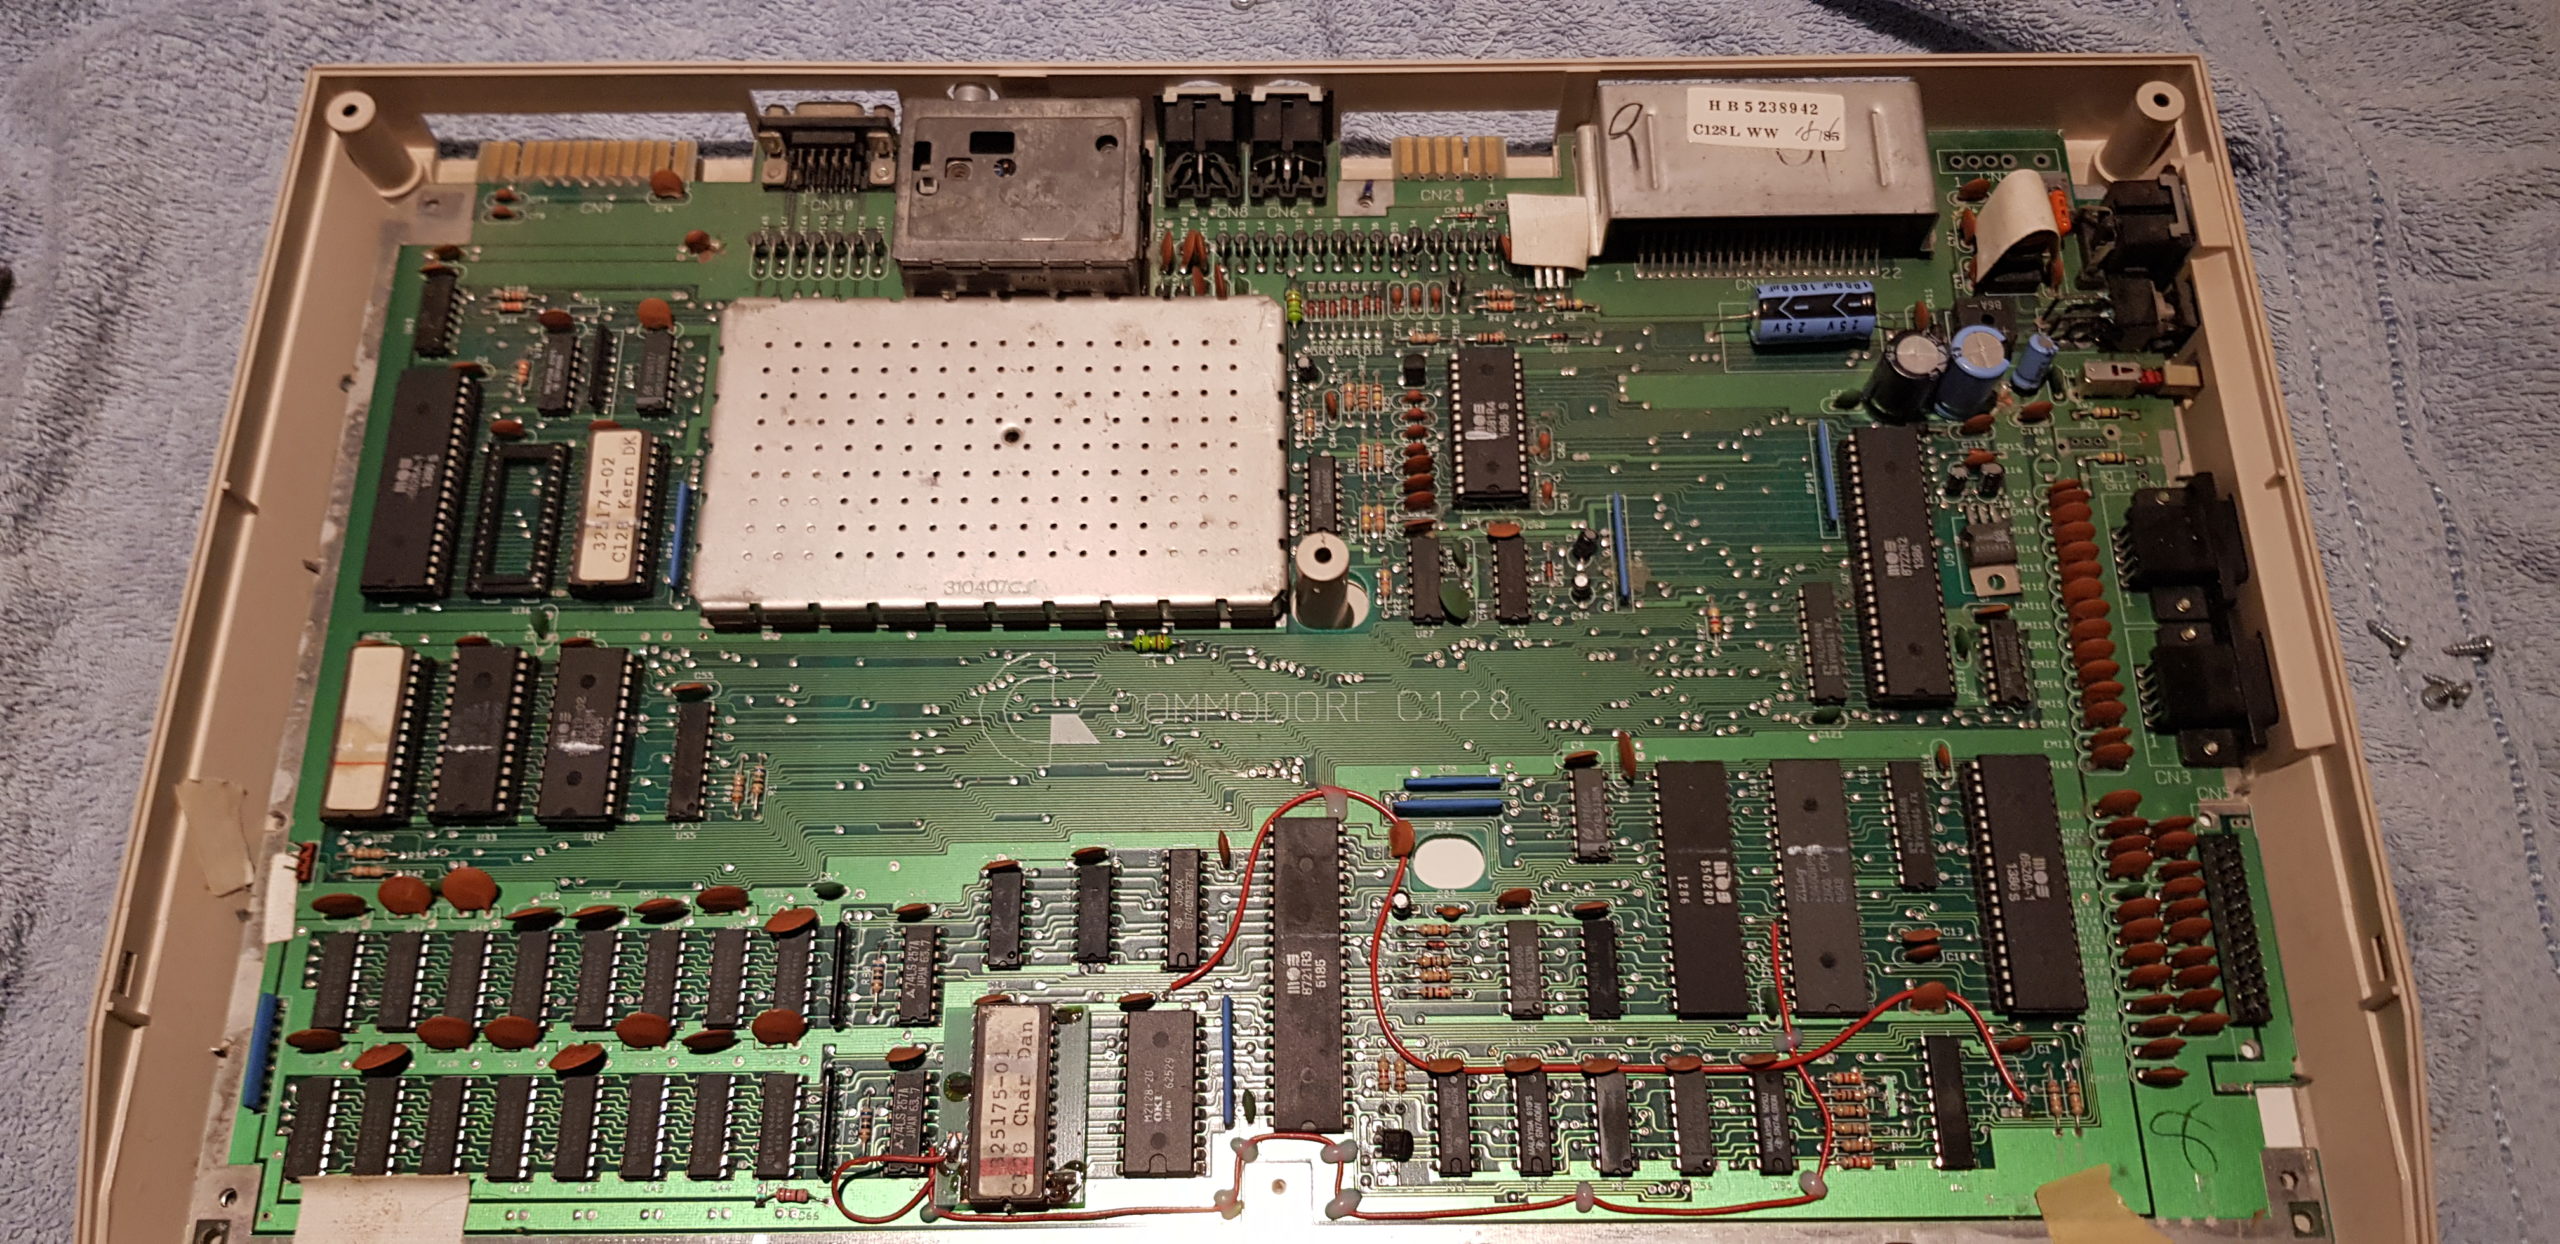
To make sure the PSU will last, I have received a new C128 PSU from C64PSU.COM. Also I still have the original C= 1571 drive, which will need some tender, love and care too as the next step – but for now, the computer is ready to rumble again, hopefully for decades to come!